
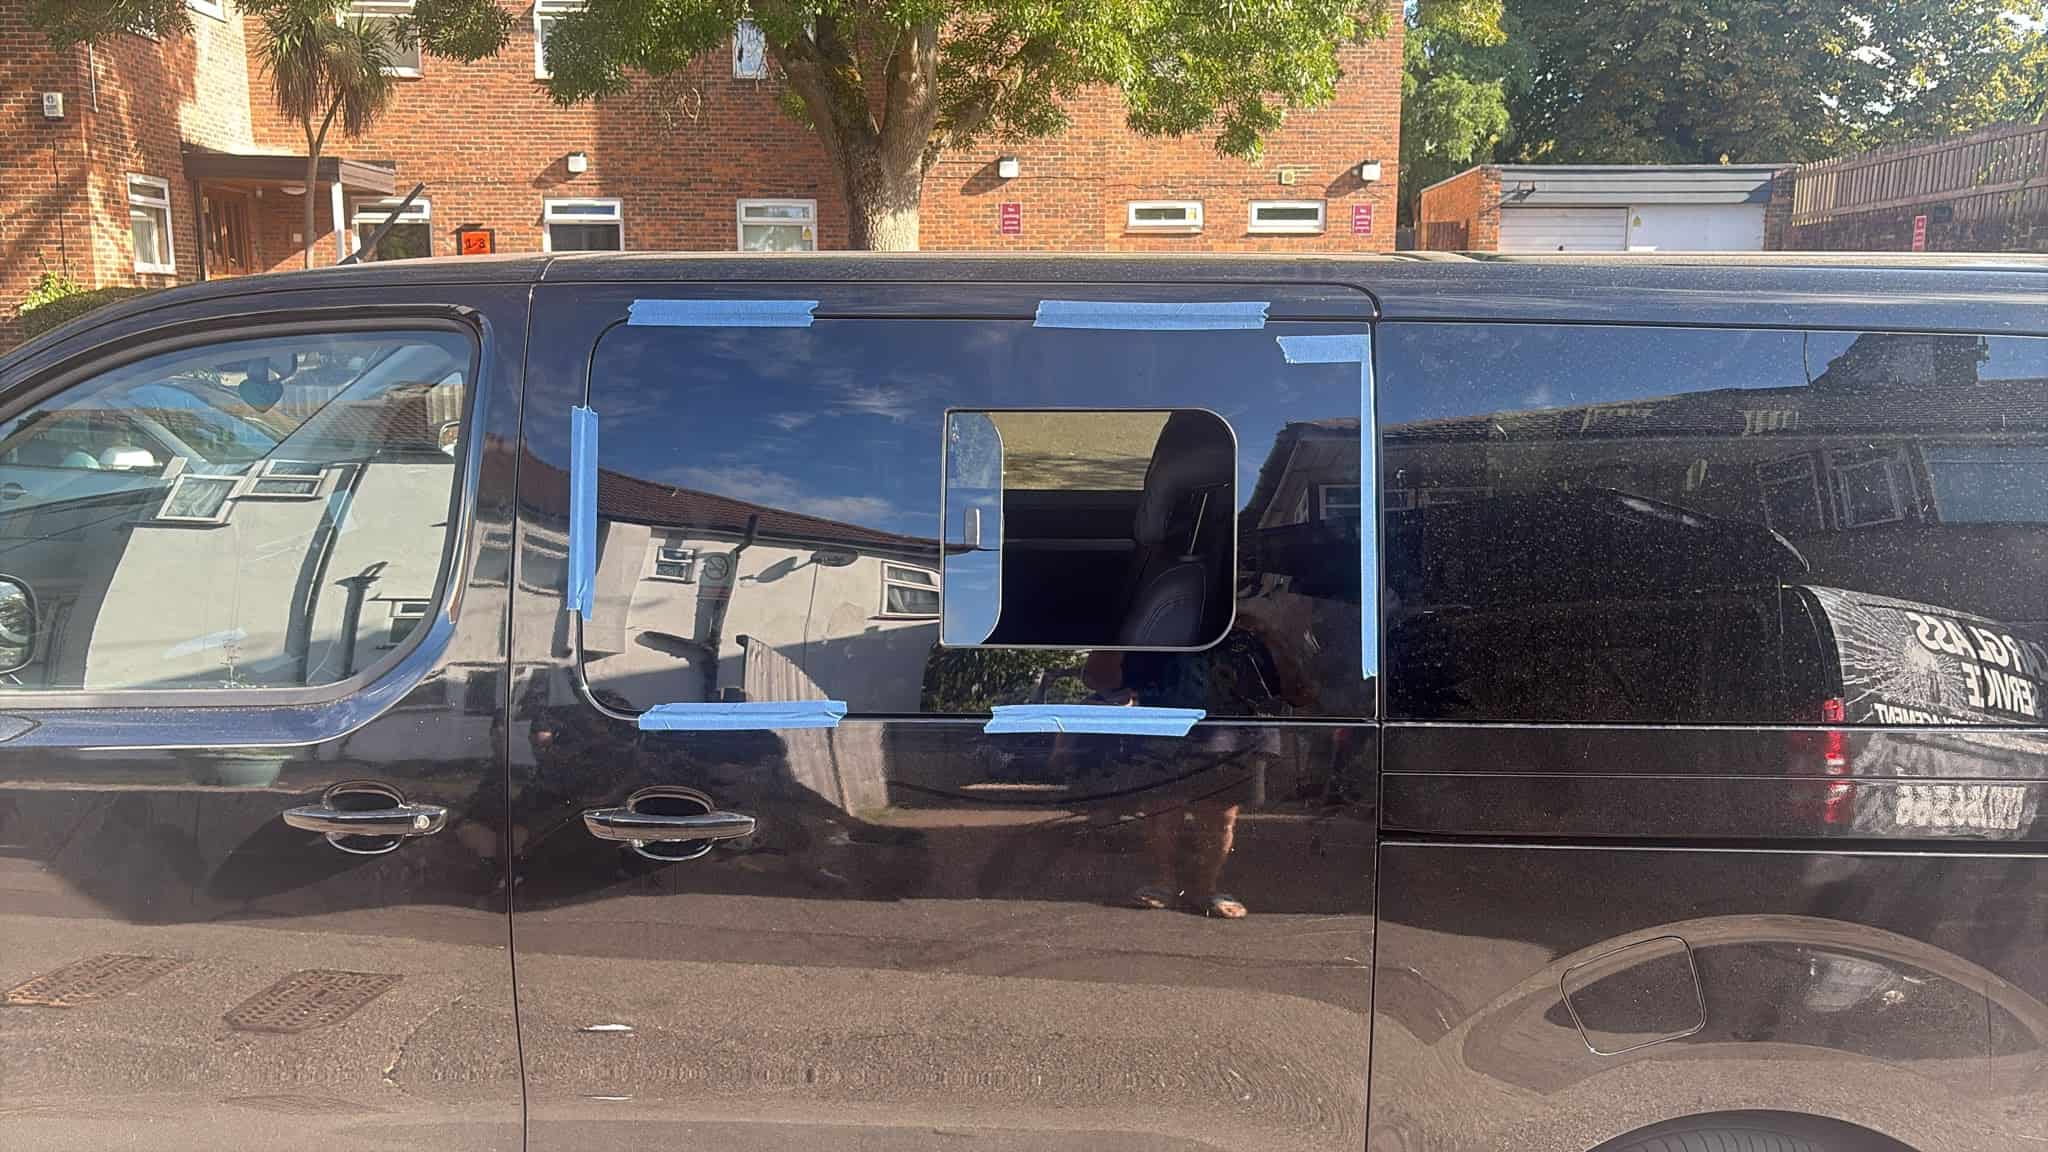
Best Glass for Van Conversions and Campervans
A dark-tinted side window can transform a plain panel van, but looks are only one part of the job. The best glass for van conversions must suit how you use the van, keep passengers safe, give you the right level of privacy and be fitted properly so it stays watertight for years.
For a weekend camper, one opening window may be enough. For a full campervan conversion used through winter, you may need a considered mix of privacy glass, ventilation windows and a rooflight. Choosing the right units before insulation and furniture go in will save time, money and unnecessary rework later.
What makes the best glass for van conversions?
There is no single best window for every van. A tradesperson converting a Transit Custom for occasional nights away has different needs from a family building a long-wheelbase Crafter camper. The right choice depends on ventilation, where the bed and kitchen sit, whether you carry passengers, and how much privacy you want when parked.
The first rule is to use automotive safety glass made for vehicle installation. Proper conversion glass is manufactured to the relevant vehicle glazing standards, marked accordingly and designed to cope with vibration, road use and temperature changes. Household glass, acrylic sheets and improvised panels are not suitable substitutes.
Quality also comes down to the full fitting system, not the pane alone. Correctly prepared apertures, rust protection on cut edges, the right primer and approved bonding materials are what prevent leaks, wind noise and loose glass. A neat-looking window can still cause trouble if the bonding work underneath has been rushed.
Tinted privacy glass for side windows
Privacy glass is the most popular choice for campervan side windows. It gives the van a cleaner finish, makes stored tools and belongings less visible, and reduces the feeling of being on display when sleeping at a campsite or parked on a street.
Most conversion windows use factory-tinted glass rather than an applied film. The tint is built into the glass, so it does not bubble, peel or scratch in the same way that low-quality film can. Darker glass can also reduce glare and some solar heat, although it will not replace proper insulation or blinds.
The trade-off is visibility. Very dark rear-side windows can make reversing and checking your surroundings harder at night, especially in poor weather. A reversing camera and good mirrors help, but they do not remove the need to think carefully about sight lines. It is also sensible to keep front-door glass clear unless a legal, suitable tint is being used.
For most campervans, privacy glass on the rear side panels offers the best balance. It keeps the sleeping area discreet while still allowing daylight into the van.
Fixed, sliding or top-hinged opening windows?
A fixed window is often the simplest and most cost-effective option. It brings in light, improves the appearance of the conversion and has fewer moving parts. Fixed units are a good fit beside a seating area, in a rear quarter panel or where the van layout already includes a rooflight for airflow.
However, fixed glass does not solve ventilation. Condensation is a regular issue in campervans because cooking, drying clothes and sleeping all add moisture to a compact space. Even a well-insulated van needs fresh air moving through it.
Sliding windows are a practical option for the kitchen side or beside the bed. They provide controlled ventilation without opening outwards, which is useful in tight parking bays or on a busy roadside. Look for a well-made slider with a secure latch, drainage channels and an insect screen if available. Cheap runners can rattle, jam or allow water to collect.
Top-hinged windows open outward from the bottom edge and can give a larger opening for airflow. They work well near a bed because they can often be left slightly open during light rain. The downside is that they project outside the van, so they are less convenient where space is limited. Their hinges, stays and seals need regular checks.
Many successful layouts use one opening window and one fixed privacy window rather than fitting opening glass everywhere. This keeps the van simple while providing cross-ventilation when combined with a roof vent or skylight.
Tempered or laminated glass?
Most van conversion side windows are toughened, also called tempered, safety glass. If it breaks, it is designed to shatter into many small pieces rather than dangerous large shards. It is strong, widely used and suitable for most bonded side-window installations.
Laminated glass has two sheets of glass bonded around an internal layer. When damaged, it tends to stay together rather than falling into the vehicle. This can offer extra security and noise reduction, but it is not automatically the right answer for every side panel. It can cost more and may not be available in every window shape or vehicle-specific kit.
The practical answer is to choose a vehicle-approved glass type that is designed for your van and intended position. Front, side and rear glazing have different requirements. A professional installer can confirm what is suitable rather than fitting a generic pane simply because it is available.
Plan glass around the campervan layout
Window positions should be agreed before you insulate, line the walls or build cabinetry. A window hidden behind a tall cupboard adds little value, while one placed at pillow height may let in welcome air and make the sleeping area feel far less enclosed.
Think about the view from inside as well as the outside appearance. A large rear-quarter window can make a compact van feel open when you are parked by the coast or in the countryside. On the other hand, a window facing a neighbour’s driveway or a busy road may need a blind from day one.
If you are fitting a kitchen, avoid placing an opening window where steam, splashes and constant use will make the mechanism difficult to keep clean. If the van carries rear passengers, make sure the glass position works with seatbelt mounts, trim panels and any planned furniture. Every cut into a body panel should be planned around the vehicle structure, not guessed on the day.
Rooflights and skylights deserve the same attention. They bring excellent light and, when specified with ventilation, can help remove warm air from the highest point in the van. But a roof opening must be sized and sealed correctly, particularly on ribbed roofs. The best result is usually a balanced combination of side glazing and roof ventilation rather than relying heavily on one or the other.
Fitting matters as much as the window
Cutting a van panel is permanent work. The aperture must be measured precisely, cut cleanly and treated on every exposed edge to prevent corrosion. The glass then needs to be bonded using the correct automotive adhesive, with enough curing time before the vehicle is driven or washed.
Poor installation often shows up later: water marks behind the lining, a whistle at motorway speed, lifting trim or rust creeping from the cut edge. These faults are far more disruptive to put right once insulation, electrics and furniture are installed.
It is worth choosing an installer experienced with your type of van, whether that is a Transporter, Vivaro, Transit, Sprinter, Crafter or a smaller car-derived van. Car Glass Service fits conversion glass across West London and can advise on sensible window placement before work begins. The aim is a safe, tidy installation that looks like it belongs on the vehicle, not an afterthought.
A sensible specification for most campervans
For many owners, a strong starting point is factory-tinted bonded side glass at the rear, one quality opening window on the kitchen or bed side, and a ventilated rooflight. Add fitted blinds or thermal screens if you plan to use the van outside summer. This gives daylight, privacy and airflow without covering every panel in glass.
Larger vans may benefit from windows on both sides to improve natural light, but more glass also means more heat loss in cold weather and more surfaces to cover at night. If winter trips are part of the plan, keep insulation and window coverings high on the priority list.
Before ordering, stand inside the empty van and mark out the proposed positions with tape. Check where you will sleep, cook, sit and store equipment. The right glass should make the van brighter, safer and easier to live in – every time you close the door and settle in for the night.

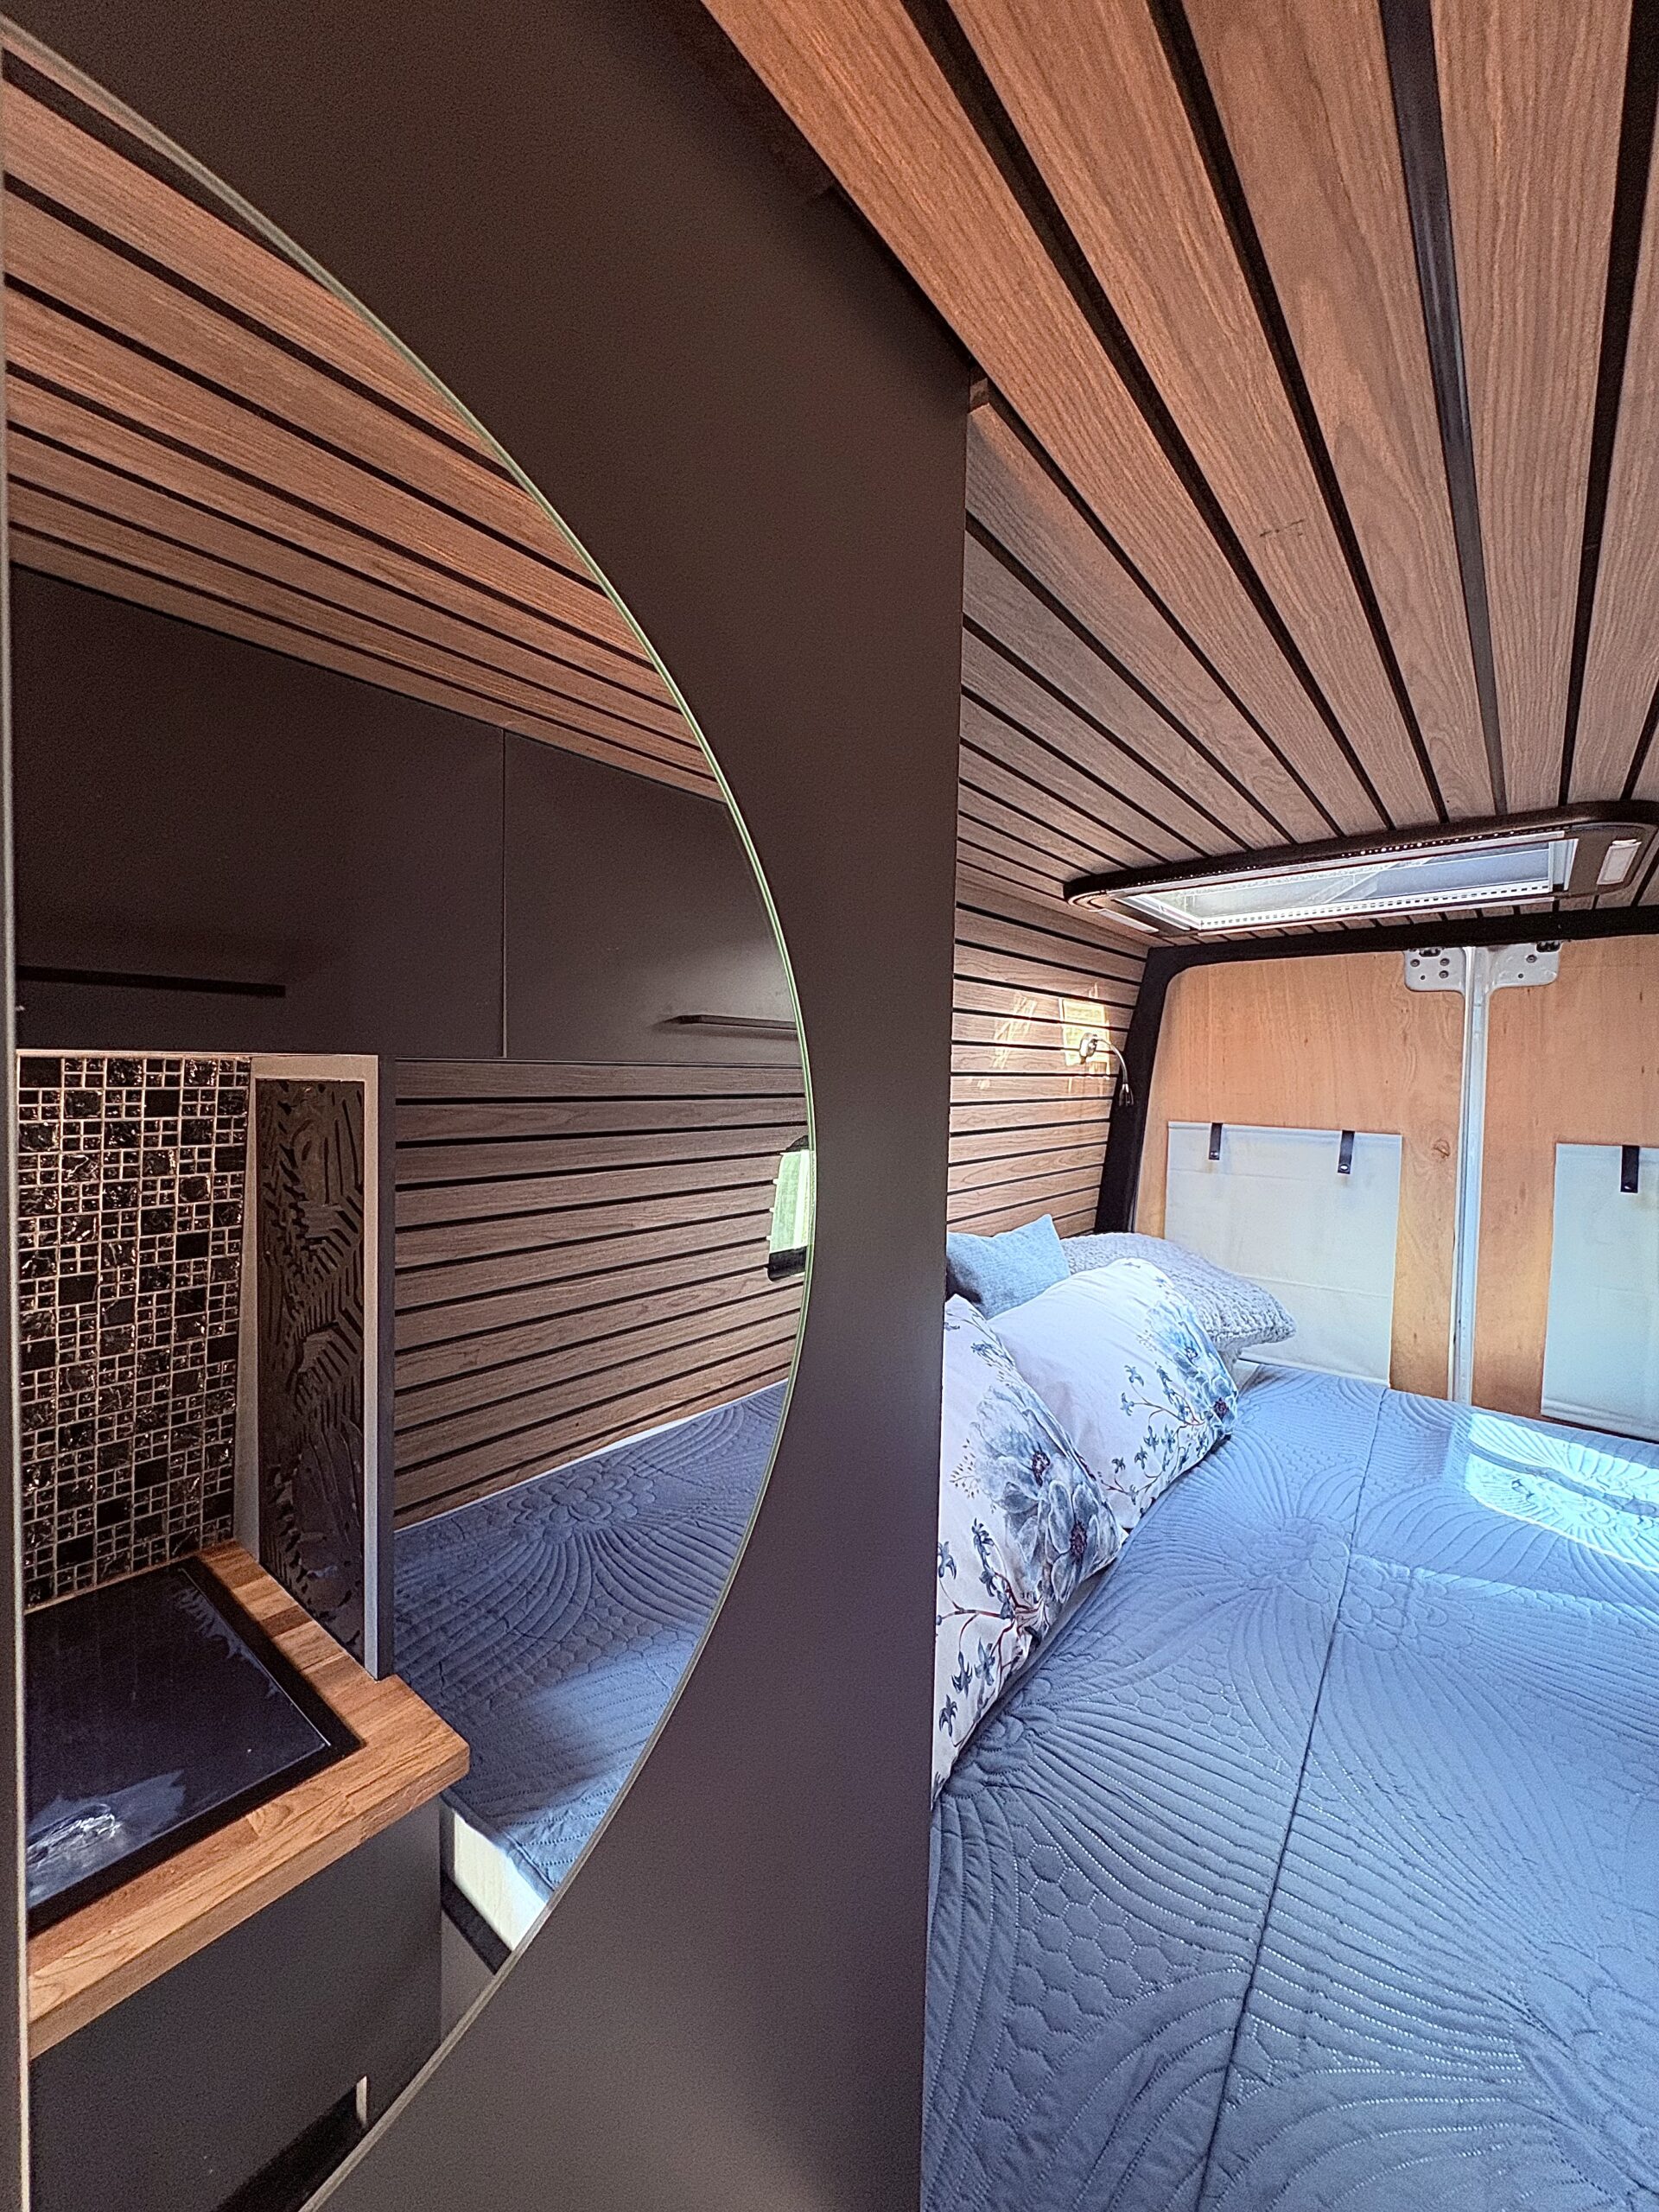

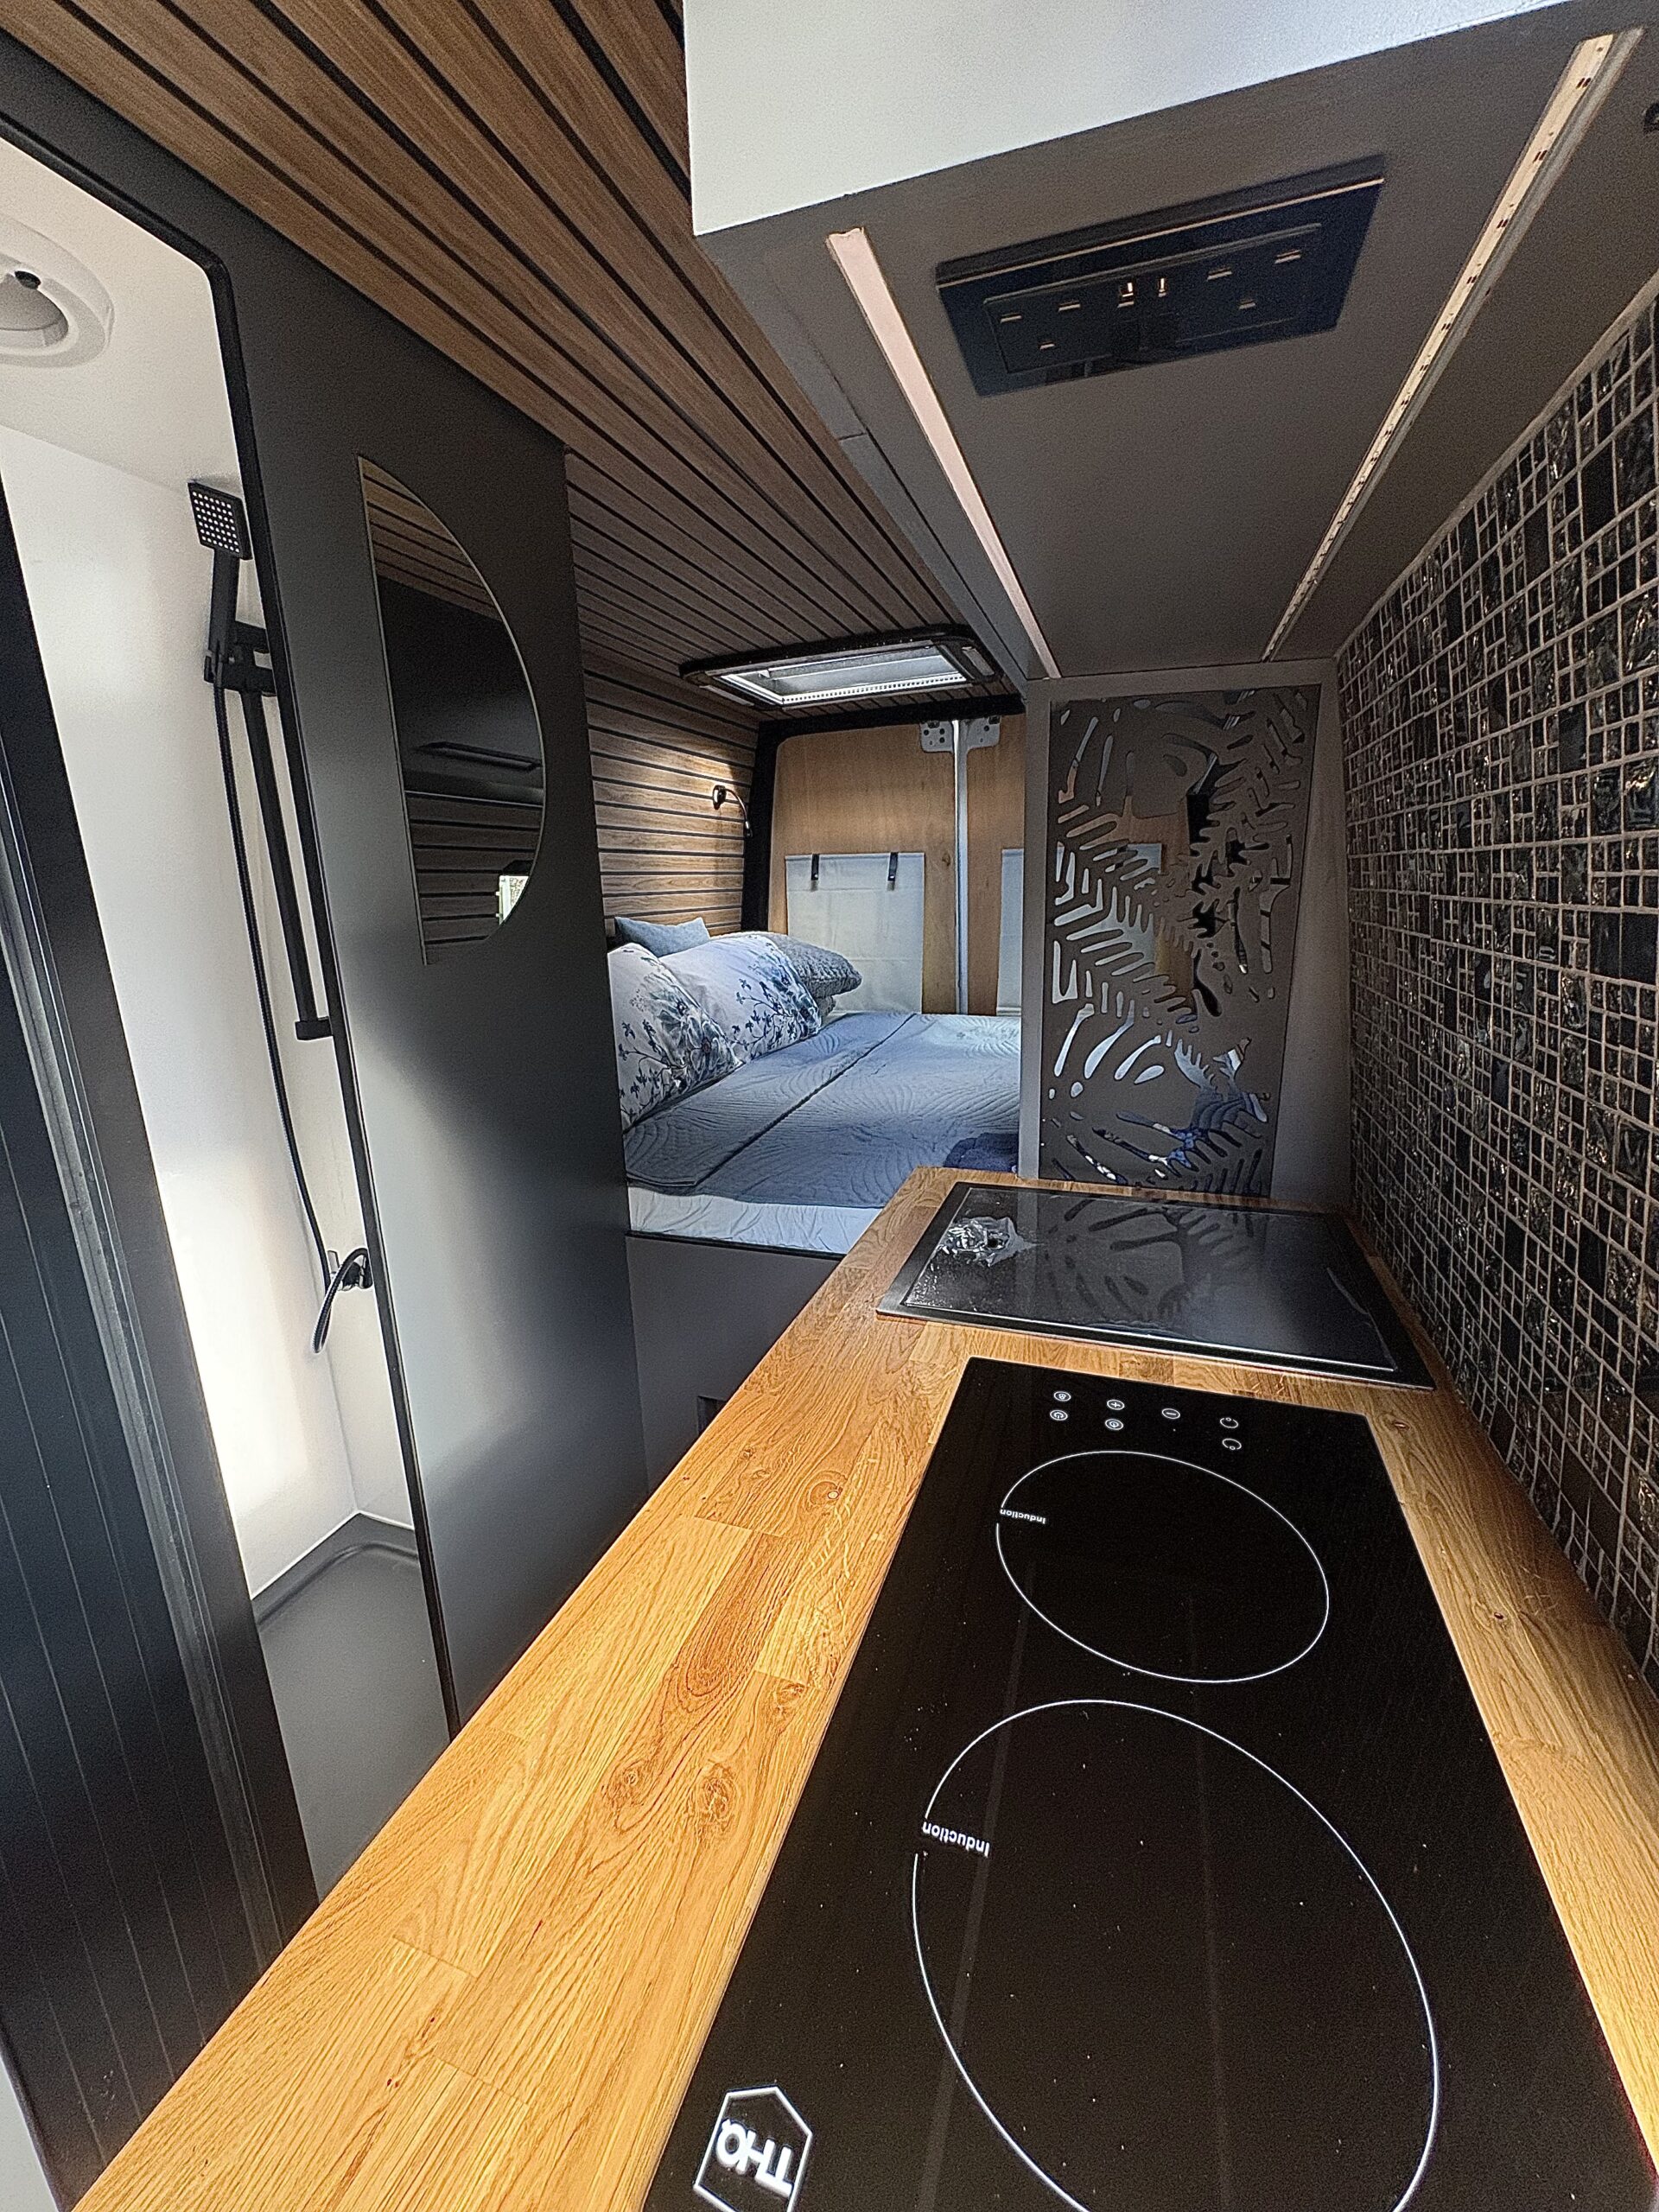


[…] West London van owners, Car Glass Service can advise on window positions and fit suitable bonded or opening glass as part of a campervan conversion. It is worth discussing the full plan before lining out the van, […]
[…] Car Glass Service, campervan conversion work can include planning solar panels around rooflights and glazing, so the finished roof remains practical, watertight and tidy rather than crowded with […]