Solar Panels for Campervans Review for UK Vans
A campervan solar setup earns its keep on the second or third night away from a campsite, when the lights are on, the fridge is running and the leisure battery is still healthy by morning. This solar panels for campervans review looks at what actually makes a system worthwhile for UK van owners: not the biggest panel on paper, but the right combination of roof space, battery capacity, charging control and professional fitting.
For most conversions, solar is less about living completely off-grid forever and more about reducing the need to hook up. It keeps a properly sized leisure battery topped up while parked, supports weekend trips and makes simple overnight stops far more comfortable. The results depend heavily on how you use the van and how much daylight is available.
Solar Panels for Campervans Review: The Straight Answer
Rigid roof-mounted panels are normally the best all-round choice for a campervan conversion. They are efficient, long-lasting and able to produce useful power throughout the day without needing to be unpacked or aimed at the sun. A well-fitted rigid panel also keeps the roof clear inside the van, where portable equipment can quickly become a nuisance.
Flexible panels have a place, particularly where weight, roof shape or a low-profile installation is the priority. However, they generally run hotter because they sit close to the roof, and heat reduces output. Their lifespan can also be shorter than a quality rigid panel, especially if the van spends long periods outdoors. They can look tidy, but should not be chosen solely because they appear easier to fit.
Portable folding panels are useful as an extra rather than a main system. They can be moved into direct sunlight when the campervan is parked in shade, which is valuable on a wooded pitch. The trade-off is security, storage space and the need to set them up each time. They are not ideal for topping up the battery while you are out walking or away from the van.
For most UK campervans, a rigid panel with an MPPT charge controller is the sensible starting point. It is a dependable setup with fewer compromises.
Start With Your Daily Power Use
Solar panel size should follow your electrical demand. Buying a large panel without considering the battery, wiring and appliances can leave you disappointed, while fitting a very small panel to a power-hungry van will not solve the problem.
A compact conversion used for lights, phone charging, a water pump and a compressor fridge may use around 30 to 60 amp-hours over a day. Add laptops, a diesel heater fan, a television, a coffee machine or regular inverter use, and consumption rises quickly. Heating elements are particularly demanding. A small electric kettle may run briefly, but it can take a serious amount of battery power through an inverter.
As a general guide, 100W to 200W of solar suits many weekend campervans with modest usage. A 200W to 400W system gives more breathing room for longer trips, a compressor fridge and regular device charging. Full-time travellers, or anyone running higher loads, may need more capacity, but roof space and payload soon become limiting factors.
Figures quoted for panels are peak ratings under ideal test conditions. British weather, low winter sun, cloud cover, shadows from trees and dirt on the panel all reduce real-world output. A 200W panel will not continuously deliver 200W on a grey November day in West London. It can still provide a worthwhile maintenance charge, but it should not be treated as a guarantee of complete independence from mains charging.
The Battery Matters as Much as the Panel
The panel makes energy. The leisure battery stores it. If either part is undersized, the system feels weak.
Lead-acid and AGM batteries remain common because they cost less upfront, but they should not regularly be discharged deeply if you want a reasonable service life. Lithium batteries cost more initially, yet offer more usable capacity, lower weight and faster charging. They are a strong option for campervans used frequently or fitted with a larger solar array.
A 100Ah lithium leisure battery generally provides considerably more usable energy than a 100Ah lead-acid battery. That does not mean lithium is automatically right for every van. An occasional summer-use conversion with modest electrical needs may be well served by AGM, particularly where the budget is focused on insulation, windows, ventilation or other essential work.
Battery protection and correct charging settings are not optional details. The solar controller must match the battery chemistry, and cables, fuses and isolation points must be sized and positioned correctly. A neat installation is not just about appearance. It makes fault-finding safer and protects the vehicle from poor connections, overheating and unnecessary battery damage.
Why MPPT Controllers Are Usually Worth It
The charge controller regulates power from the panel before it reaches the battery. PWM controllers are basic and can be suitable for smaller, low-cost systems. MPPT controllers are more efficient, particularly when panel voltage is higher than battery voltage or light conditions are less than perfect.
For a permanent campervan installation, MPPT is normally the better choice. It gives the panel a stronger chance of producing useful charge in changeable conditions, which matters in the UK. The gain will vary, so it is not magic, but it is a sensible place to spend money rather than oversizing a panel and using poor-quality control equipment.
Roof Space, Skylights and Shade Need Planning
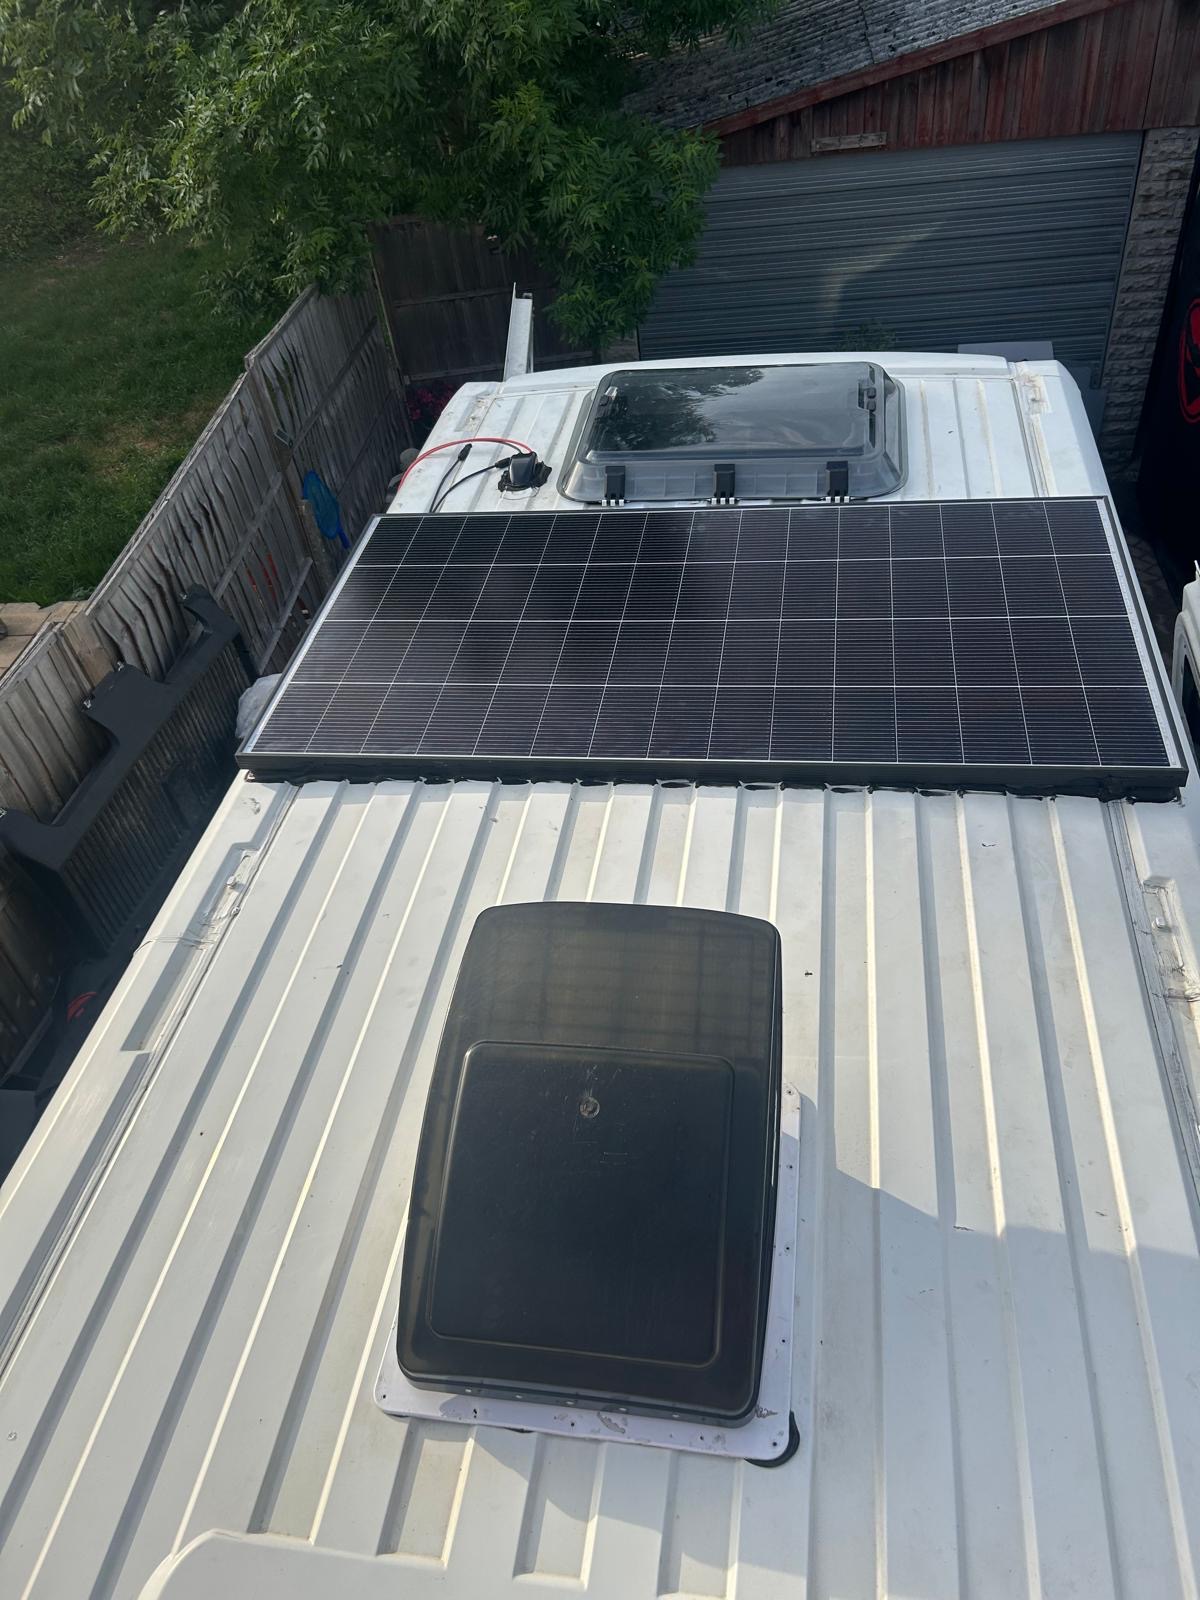
A solar panel should be part of the conversion plan, not an afterthought bolted onto the last available patch of roof. Skylights, roof vents, aerials, roof bars and pop-top mechanisms all compete for space. A panel positioned where it receives frequent shade may produce far less than expected.
Even partial shade can have a major effect. A roof vent casting a narrow shadow across a panel, or a tree branch moving across it during the day, can noticeably cut output. Panel layout, cable routes and the position of a skylight should therefore be considered together before holes are made in the roof.
There is also a practical fitting issue. Roof brackets need to be secure, sealed properly and suitable for the vehicle roof. Cables must enter through a weatherproof gland, then be routed and protected inside the van. Loose wiring, poorly sealed holes and unsuitable adhesives can cause water ingress or damage that is far more expensive than doing the job properly from the start.
At Car Glass Service, campervan conversion work can include planning solar panels around rooflights and glazing, so the finished roof remains practical, watertight and tidy rather than crowded with compromises.
What a Good Solar Setup Should Include
A reliable system is more than a panel and a battery. It should include a suitable solar panel, correctly rated MPPT controller, leisure battery, appropriate cable sizing, fuses close to the power source, isolation switches and secure roof mounting. A battery monitor is also highly useful because it shows what is going in and out, rather than leaving you to guess from a basic voltage reading.
If your campervan has a split-charge relay or a battery-to-battery charger, solar should work alongside it. Driving remains an effective way to recharge, particularly in winter. Mains hook-up can still be useful on longer stays or when the van is stored in poor light. These charging methods should support each other, not compete.
Do not overlook payload either. Solar equipment is not usually very heavy on its own, but batteries, roof racks, rooflights, insulation, water tanks and interior units all add up. A conversion should remain within the vehicle’s permitted weight and retain a sensible margin for passengers and holiday equipment.
When Solar Is Not the Whole Answer
Solar is excellent for slow, steady charging. It is not the answer to every electrical demand. If you want to run high-wattage appliances regularly, spend long periods parked under trees, travel mainly through winter or leave the van unused under cover, you will need another charging plan.
A larger battery can help bridge poor-weather days, while a battery-to-battery charger makes better use of driving time. Some owners benefit more from reducing consumption than adding another panel. LED lighting, efficient refrigeration, sensible inverter use and charging devices while driving can make a modest solar setup feel far more capable.
The best solar panels for campervans are therefore not simply the highest-wattage models. They are the panels that fit the roof correctly, match the electrical system and suit the way you actually travel. Plan the system before the roof is finished, choose quality components and have the fitting carried out with the same care as the rest of the conversion. Then your campervan will be ready to stay longer where you want to wake up, not only where there is a hook-up point.