Campervan Conversion Done Right First Time
A campervan conversion starts long before the bed, kitchen or leisure battery goes in. The first major decisions are where light will enter, how the van will ventilate, and whether every cut into the body has been planned properly. Get those jobs right at the beginning and the finished van will feel brighter, safer and far more useful on weekends away, work trips and longer holidays.
For many owners, the van itself is already familiar territory. It may be a Ford Transit Custom used by a tradesperson, a Mercedes Sprinter ready for touring, or a Citroën Relay, Peugeot Boxer, Fiat Ducato or VW Crafter with room for a full build. The conversion is what turns that working vehicle into somewhere you genuinely want to spend time.
Plan your campervan conversion before cutting
It is tempting to buy furniture kits, insulation and appliances as soon as the van arrives. A better first move is to settle the layout on paper. Decide where people will sit, sleep and cook, where the water and electrical equipment will live, and which side of the van will benefit most from windows.
This matters because each choice affects the next one. A fixed side window beside a rear bed can give you a view and daylight without losing usable wall space. An opening window near the kitchen or sleeping area can improve airflow. A roof skylight brings in overhead light, but it also needs clear space around roof ribs, wiring routes, roof bars and any future solar panel installation.
Think about how the van will be used rather than copying a layout seen online. A couple taking occasional breaks may prefer a simple rock-and-roll bed and open floor area. A family may need extra belted seats, privacy glass and better ventilation. Someone who works from the van may value large side windows, charging capacity and a usable table more than a large kitchen.
Before any glass or roof opening is fitted, check for structural members, existing wiring, internal trim and door mechanisms. Measurements must be accurate. A window that looks centred from outside can be awkward inside if it clashes with cabinetry, a bed frame or a seatbelt mounting point.
Fixed or opening van windows?
Fixed windows are a sensible option where the main aim is daylight, visibility and a clean finished look. They work well on panel vans being converted into day vans, crew vans or weekend campers. Privacy-tinted glass can help reduce the feeling of being on display while still making the interior feel less enclosed.
Opening windows cost more than a fixed pane and require careful fitting, but they can make a noticeable difference in a compact space. Fresh air is especially useful when cooking, drying damp clothes or sleeping in warmer weather. They are often fitted in the sliding door, opposite side panel, or near the bed area depending on the layout.
There is no single best choice. A van used mainly in fair weather may need only one opening window and a roof vent. A full-time touring build usually benefits from ventilation at more than one point, allowing air to move through rather than simply entering and sitting inside.
Why professional glass fitting matters
A van side window is not just an accessory. The body panel must be cut cleanly, protected correctly and prepared for the glass to bond securely. Poor cutting can leave rough edges or damage surrounding paintwork. Poor bonding can lead to water ingress, wind noise and a finish that does not last.
Professional fitting also gives the conversion a better result visually. Properly fitted glass follows the van’s lines, sits evenly and looks like it belongs there. That matters if you plan to sell the van later, but it matters just as much every time you walk up to it.
The right glass should be suitable for the vehicle and purpose. Quality automotive glass, correct primers, adhesives and trims are not areas to cut corners. A campervan may travel at motorway speed, carry passengers and face constant weather changes. The installation needs to cope with all of it.
Car Glass Service fits fixed and opening windows for a wide range of van conversions, including Sprinters, Transits, Relays, Boxers, Ducatos and Crafters. For owners in West London, having the glass work handled by an experienced local team means the build can move forward without waiting weeks for a separate fitting stage.
Make ventilation part of the design
Condensation is one of the most common campervan frustrations. People breathe, cook, dry coats and bring wet shoes inside. Without adequate ventilation, moisture settles on cold surfaces and can make bedding, timber and insulation damp over time.
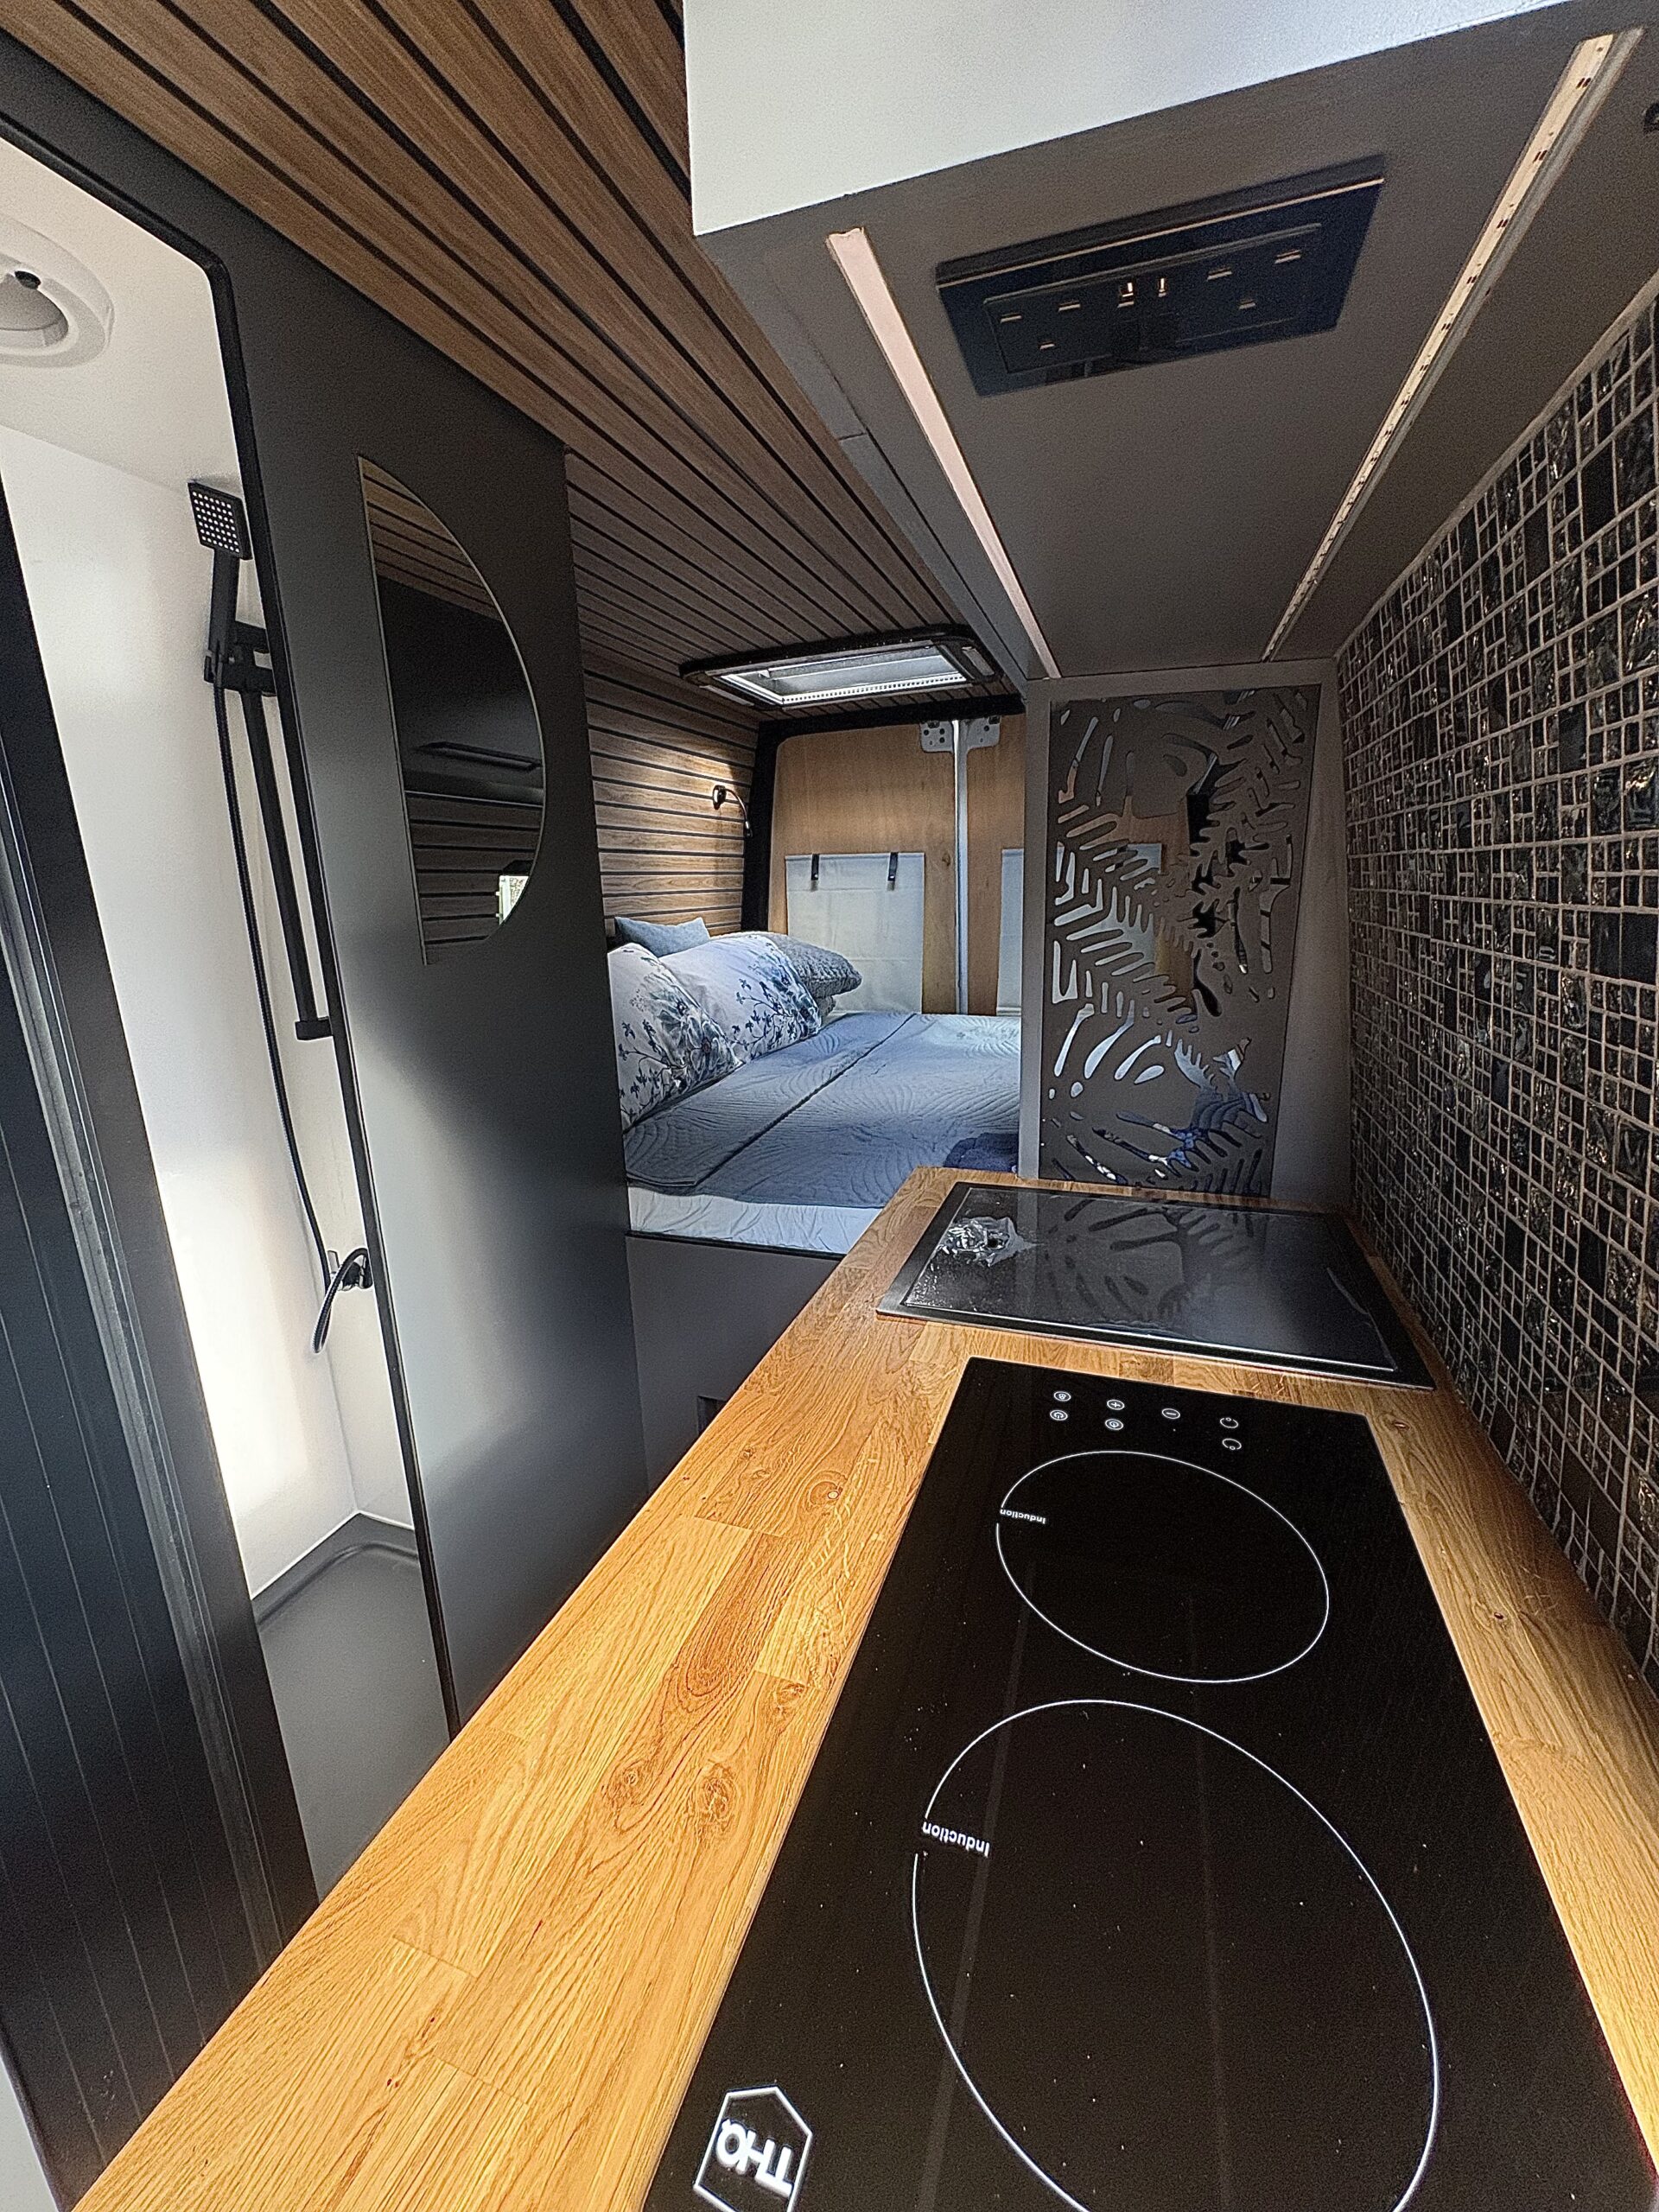
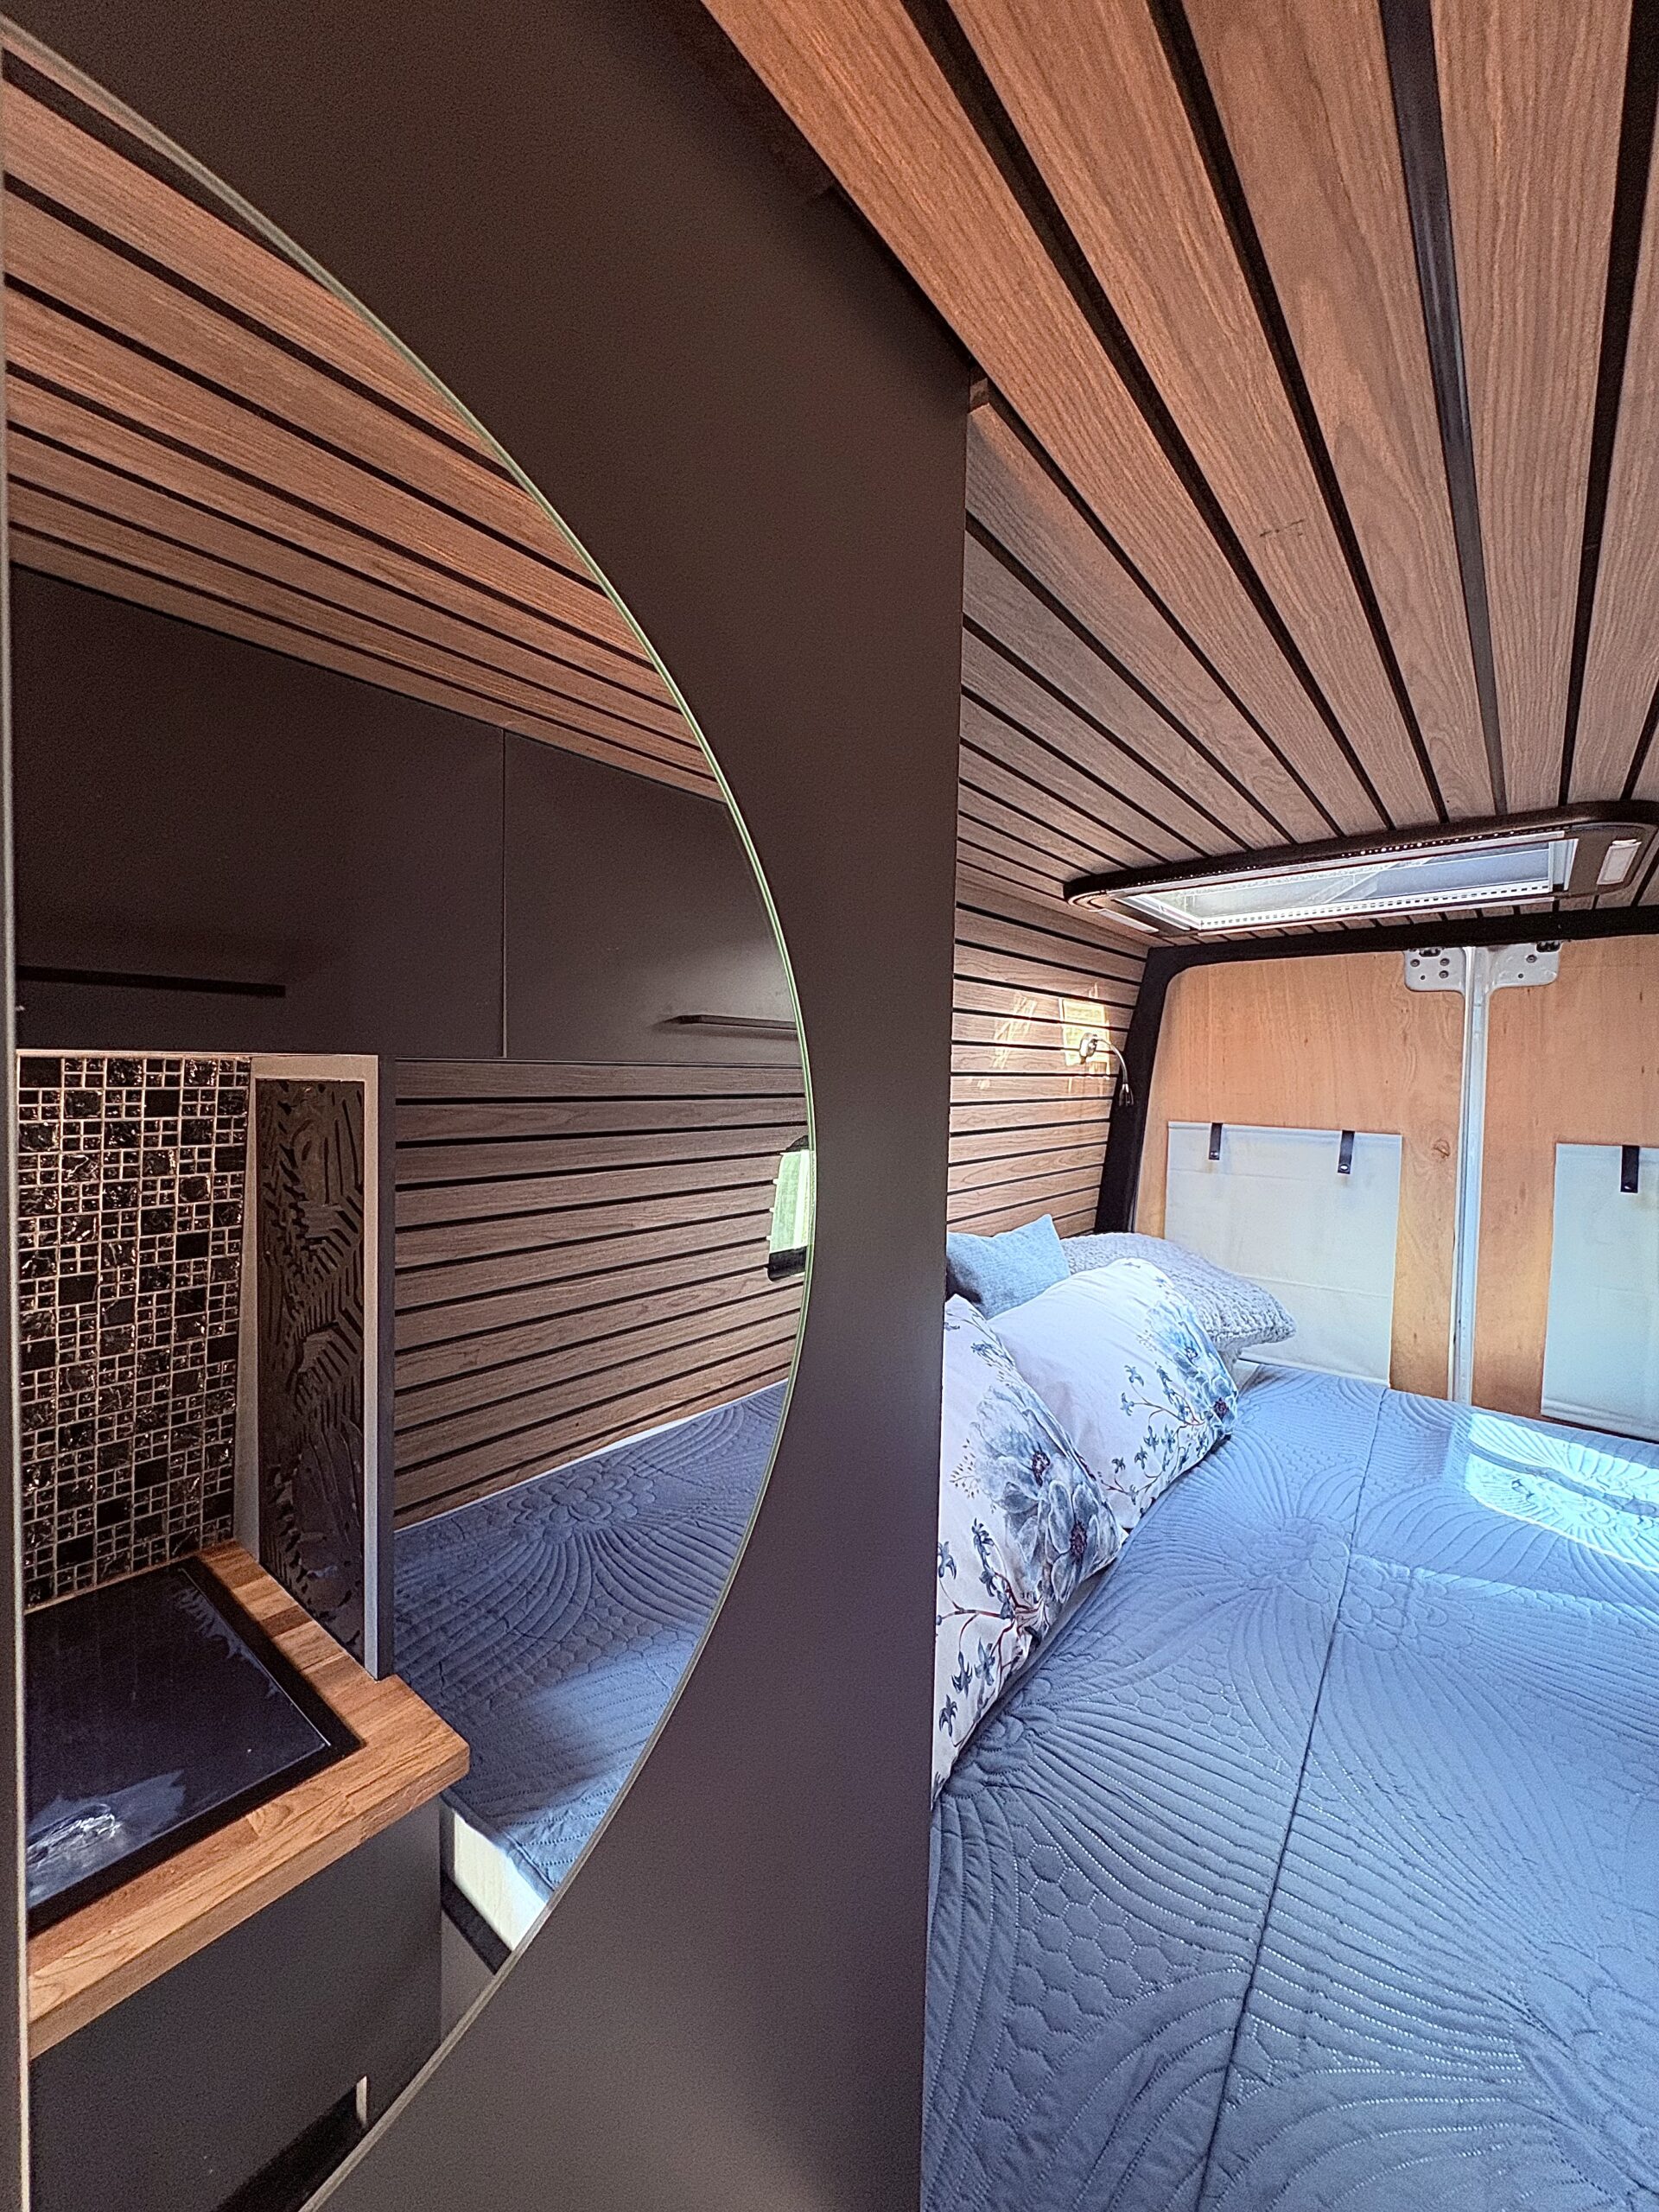
A roof skylight or vent is often one of the best additions to a camper. It provides daylight during the day and allows warm air to escape because heat rises. Combined with an opening side window, it creates a practical route for fresh air through the vehicle.
Placement is important. A skylight above the cooking area helps remove steam, while one over the bed can make warm nights more comfortable. However, roof space is limited. Plan skylights alongside solar panels, aerials, roof racks and any pop-top roof before making a cut.
Do not rely on a single small window to solve condensation. Good airflow, sensible insulation, controlled heating and regular ventilation all work together. If the van is used year-round, this is worth planning properly rather than treating it as a later upgrade.
Solar panels and electrical planning
Solar panels can be a useful part of a campervan build, particularly for owners who want more freedom away from campsites. They can help keep a leisure battery topped up while running lights, USB charging, a water pump, fridge or other low-power equipment. Their usefulness depends on panel size, battery capacity, weather and how much electricity you actually use.
A small panel may be enough for occasional summer trips with modest power needs. It may not support an electric cooking setup, high-demand appliances or winter touring on its own. In those cases, a larger battery bank, mains hookup charging or a battery-to-battery charger may also be needed.
The key is to design the electrical system around real use. Write down every device you expect to run and how long it will be used each day. That simple exercise prevents the common problem of fitting attractive roof equipment without enough stored power underneath.
Solar panel positioning also needs to work around skylights. Panels require an unobstructed area and secure mounting, while vents need room to open and operate properly. Planning both together avoids an expensive rework later.
Build in a sensible order
A well-organised conversion generally begins with layout and measurements, then windows, skylights and any external openings. After that comes rust protection where cuts have been made, followed by insulation, wiring, plumbing and internal lining. Furniture, flooring, cushions and finishing touches come later.
This order is not about making the job look slower. It prevents finished interior panels from being removed because a cable has been forgotten or a window aperture needs access. It also makes it easier to keep the work clean and check each stage before it is covered up.
If you are fitting furniture yourself, leave enough tolerance around window frames and trims. Van bodies move slightly, panels are rarely perfectly square, and a millimetre saved on paper can become a frustrating gap on installation day. Measure twice, allow for materials, and avoid building fixed units until the glass and openings are complete.
A conversion that works after the first trip
The best campervans are not necessarily the ones with the most equipment. They are the ones where the essentials work properly: dry windows, fresh air, safe electrics, useful storage and a layout that suits the people travelling in it.
Spend time on the structure and openings before choosing the finishes. A well-fitted window, a correctly positioned skylight and a realistic electrical plan will improve every journey long after the new cushions and cabinet colours have stopped being the exciting part.