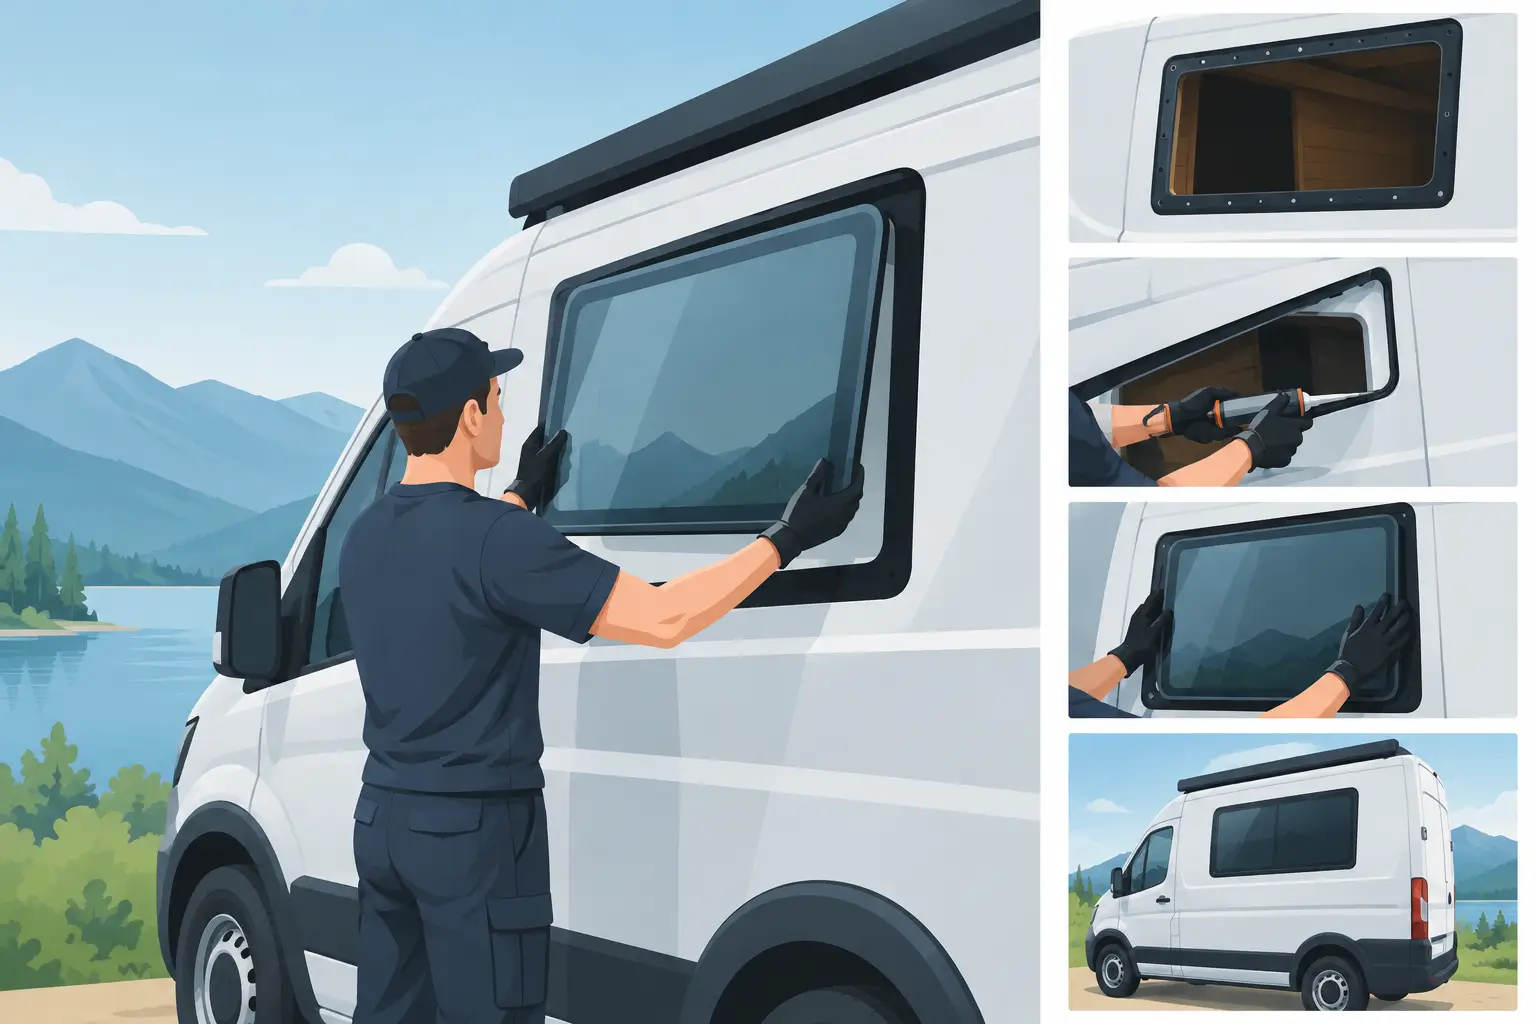
How Van Conversion Glass Fitting Works on Campervans
A campervan can look finished on paper but still feel dark, closed-in and impractical until the right windows are fitted. Knowing how van conversion glass fitting works helps you plan the layout properly, choose the right glass, and avoid costly changes after insulation, furniture or lining panels are installed.
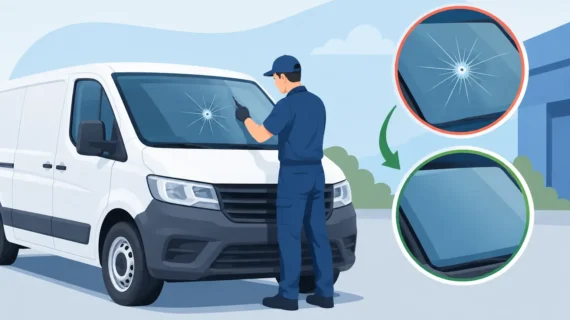
For a professional conversion, fitting a van window is not simply a matter of cutting a hole and putting glass in it. The glass must suit the vehicle, the opening must be accurately prepared, and the bonding process must be completed with the correct materials and curing time. Done properly, the result is a secure, weather-tight window that improves light, ventilation and visibility without spoiling the van’s finish.
How Van Conversion Glass Fitting Works
The process starts with the van and the planned interior layout. A professional fitter will identify which panels can take glass and where a window will be most useful. On a campervan, this normally means considering the bed position, kitchen area, seating, storage units and whether a sliding door needs an opening window.
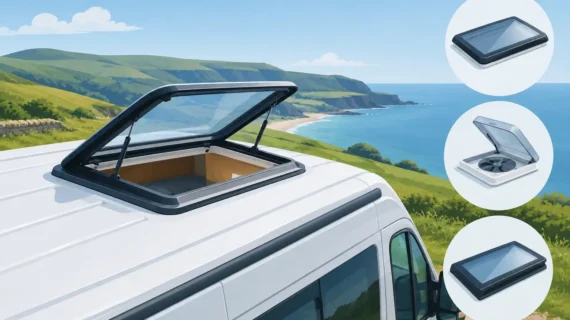
Popular options include fixed privacy glass for a clean factory-style look, sliding opening windows for ventilation, rear-quarter windows, rear door glass and tailgate glass. Skylights can also transform the feel of the living area, although they are fitted differently from side windows and need careful sealing around the roof aperture.
The correct choice depends on how you will use the van. A weekend camper may only need fixed side glass and a roof vent. A van used for longer trips often benefits from opening windows, particularly near the sleeping area. More openings bring more fresh air, but they can also add cost, reduce wall space for cupboards and require fly screens or blinds for privacy.
Choosing glass that suits the van
Van conversion glass should be made for automotive use and matched to the vehicle model. It needs to sit correctly against the body shape rather than being forced to fit a generic opening. Quality privacy glass is common on camper conversions because it gives passengers privacy while still allowing daylight into the vehicle.
The type of glass matters as much as its appearance. Automotive safety glass is designed for vehicle use and should carry the appropriate approval marking. A proper installation also uses compatible primers, adhesive and trims. Household glass, unsuitable sealants and improvised fittings have no place on a conversion.
Car Glass Service fits fixed and opening conversion windows for many popular vans, including Mercedes Sprinter, Ford Transit, Ford Transit Custom, Citroen Relay, Peugeot Boxer, Fiat Ducato and VW Crafter models. The exact window shape and fitting method can vary between wheelbases, roof heights, door layouts and model years, so checking the van details before ordering is essential.
Measuring and marking the window position
Before any panel is cut, the fitter measures the aperture carefully and checks it against the glass template. This is where experience makes a real difference. A window that is a few millimetres out can leave uneven gaps, interfere with internal bracing or make final bonding difficult.
The proposed position is marked from the outside, then checked from inside the van. The fitter must look for structural sections, wiring, insulation, internal strengthening pieces and any existing fittings behind the panel. A sliding-door window also needs to be positioned so that it works with the door mechanism and does not conflict with planned furniture.
On some vans, the manufacturer has pressed outlines into the bodywork to indicate suitable window areas. These can be useful guides, but they still need to be measured against the specific glass being installed. Every conversion should be assessed on its own condition and layout.
Cutting the body panel safely
Once the position is confirmed, the surrounding paintwork is protected and a starter hole is made in the panel. The aperture is then cut gradually using suitable tools. Careful cutting reduces vibration, protects the surrounding metal and helps prevent distortion of the panel.
The cut edge is smoothed and checked until the glass sits correctly in the opening. This stage should never be rushed. A rough or uneven aperture can create stress points, visible gaps and a poor seal.
Freshly cut metal must be treated before the glass is bonded. Exposed edges can corrode if left bare, especially on a working van that sees rain, road salt and regular washing. The fitter cleans the edge, applies the correct protective treatment where required, and prepares the area for the bonding system.
Preparing the glass and bonding surface
Both the van body and the glass must be clean, dry and free from dust, grease and loose paint. Professional glass fitting relies on a complete preparation process, not just adhesive. Depending on the materials used, this can include activators and primers designed to help the adhesive bond correctly.
A high-quality automotive polyurethane adhesive is then applied in an even bead around the aperture. The bead profile is important because it provides the bond, helps keep water out and sets the final position of the glass. Too little adhesive can leave weak areas. Too much can create mess, poor seating or an uneven finish.
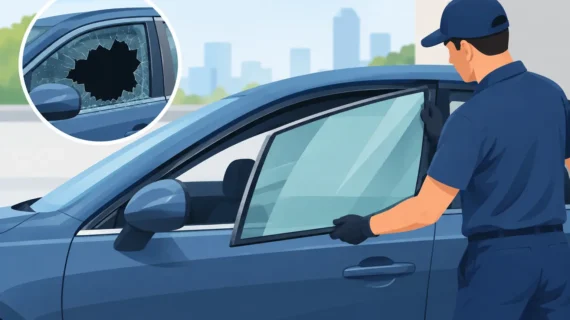
The glass is placed into position using the correct handling equipment and adjusted before the adhesive begins to cure. On larger panes, particularly rear glass or wide side windows, careful handling is essential to avoid damaging the glass or marking the paintwork.
Fixed windows versus opening windows
Fixed privacy glass is generally the simpler option. It gives a neat, factory-style appearance and allows more daylight into the van without adding moving parts. It is a good fit for panels beside kitchen units, storage furniture or seating where ventilation is less important.
Opening windows have a frame and operating mechanism, usually a sliding section. They are particularly useful near a bed or seating area, where airflow makes a noticeable difference. However, they need more clearance inside the vehicle and may cost more than fixed glass. Window location, blackout blind choice and insect screens should all be considered before fitting.
For many conversions, a combination works best: fixed glass where light and privacy are the priority, with one or two opening windows where ventilation is needed most.
Curing time, sealing and final checks
After the glass has been fitted, the adhesive needs time to cure. The required time depends on the adhesive product, weather conditions, temperature and humidity. The van should not be driven or washed until the fitter confirms it is safe to do so.
Once the installation is secure, the glass is checked for correct alignment and the surrounding finish is inspected. The fitter looks for clean edges, even spacing and any sign that the glass has not seated properly. A water test may be used where appropriate to confirm the installation is weather-tight.
The inside of the van should then be cleaned of metal filings and fitting debris before insulation and lining work continues. This is one reason it is usually sensible to install windows early in a campervan build, before carpets, cabinets, electrics and soft furnishings are in place.
When should windows be fitted during a campervan conversion?
Glass fitting is normally completed after the basic plan is finalised but before the interior is fully built. You need to know where the bed, cupboards and electrics are going, but it is far easier to cut and clean the panels before lining and furnishing the van.
If the conversion is already underway, windows can still be fitted, but the work may require extra protection and partial removal of internal materials. It depends on access behind the panel and how much space is available to work safely.
It is also worth thinking ahead. Adding a solar panel, skylight, awning rail or upper cupboards later can affect the best position for windows and roof openings. A clear conversion plan avoids having to compromise after the build has started.
Why professional fitting is worth it
A van window is part of the vehicle body, not a cosmetic accessory. Poorly fitted glass can leak, rattle, allow wind noise or lead to corrosion around the aperture. In the worst cases, incorrect cutting or bonding can affect safety and leave an expensive problem to put right.
Professional fitting brings the right glass, vehicle-specific knowledge, proper preparation and suitable adhesives together in one job. It also gives you a cleaner finish that looks right on a campervan, whether it is a practical trades van conversion or a full touring build.
If you are planning a conversion in West London, get the window layout agreed before the interior work begins. The right glass in the right place makes every trip brighter, better ventilated and far more comfortable from the first night away.