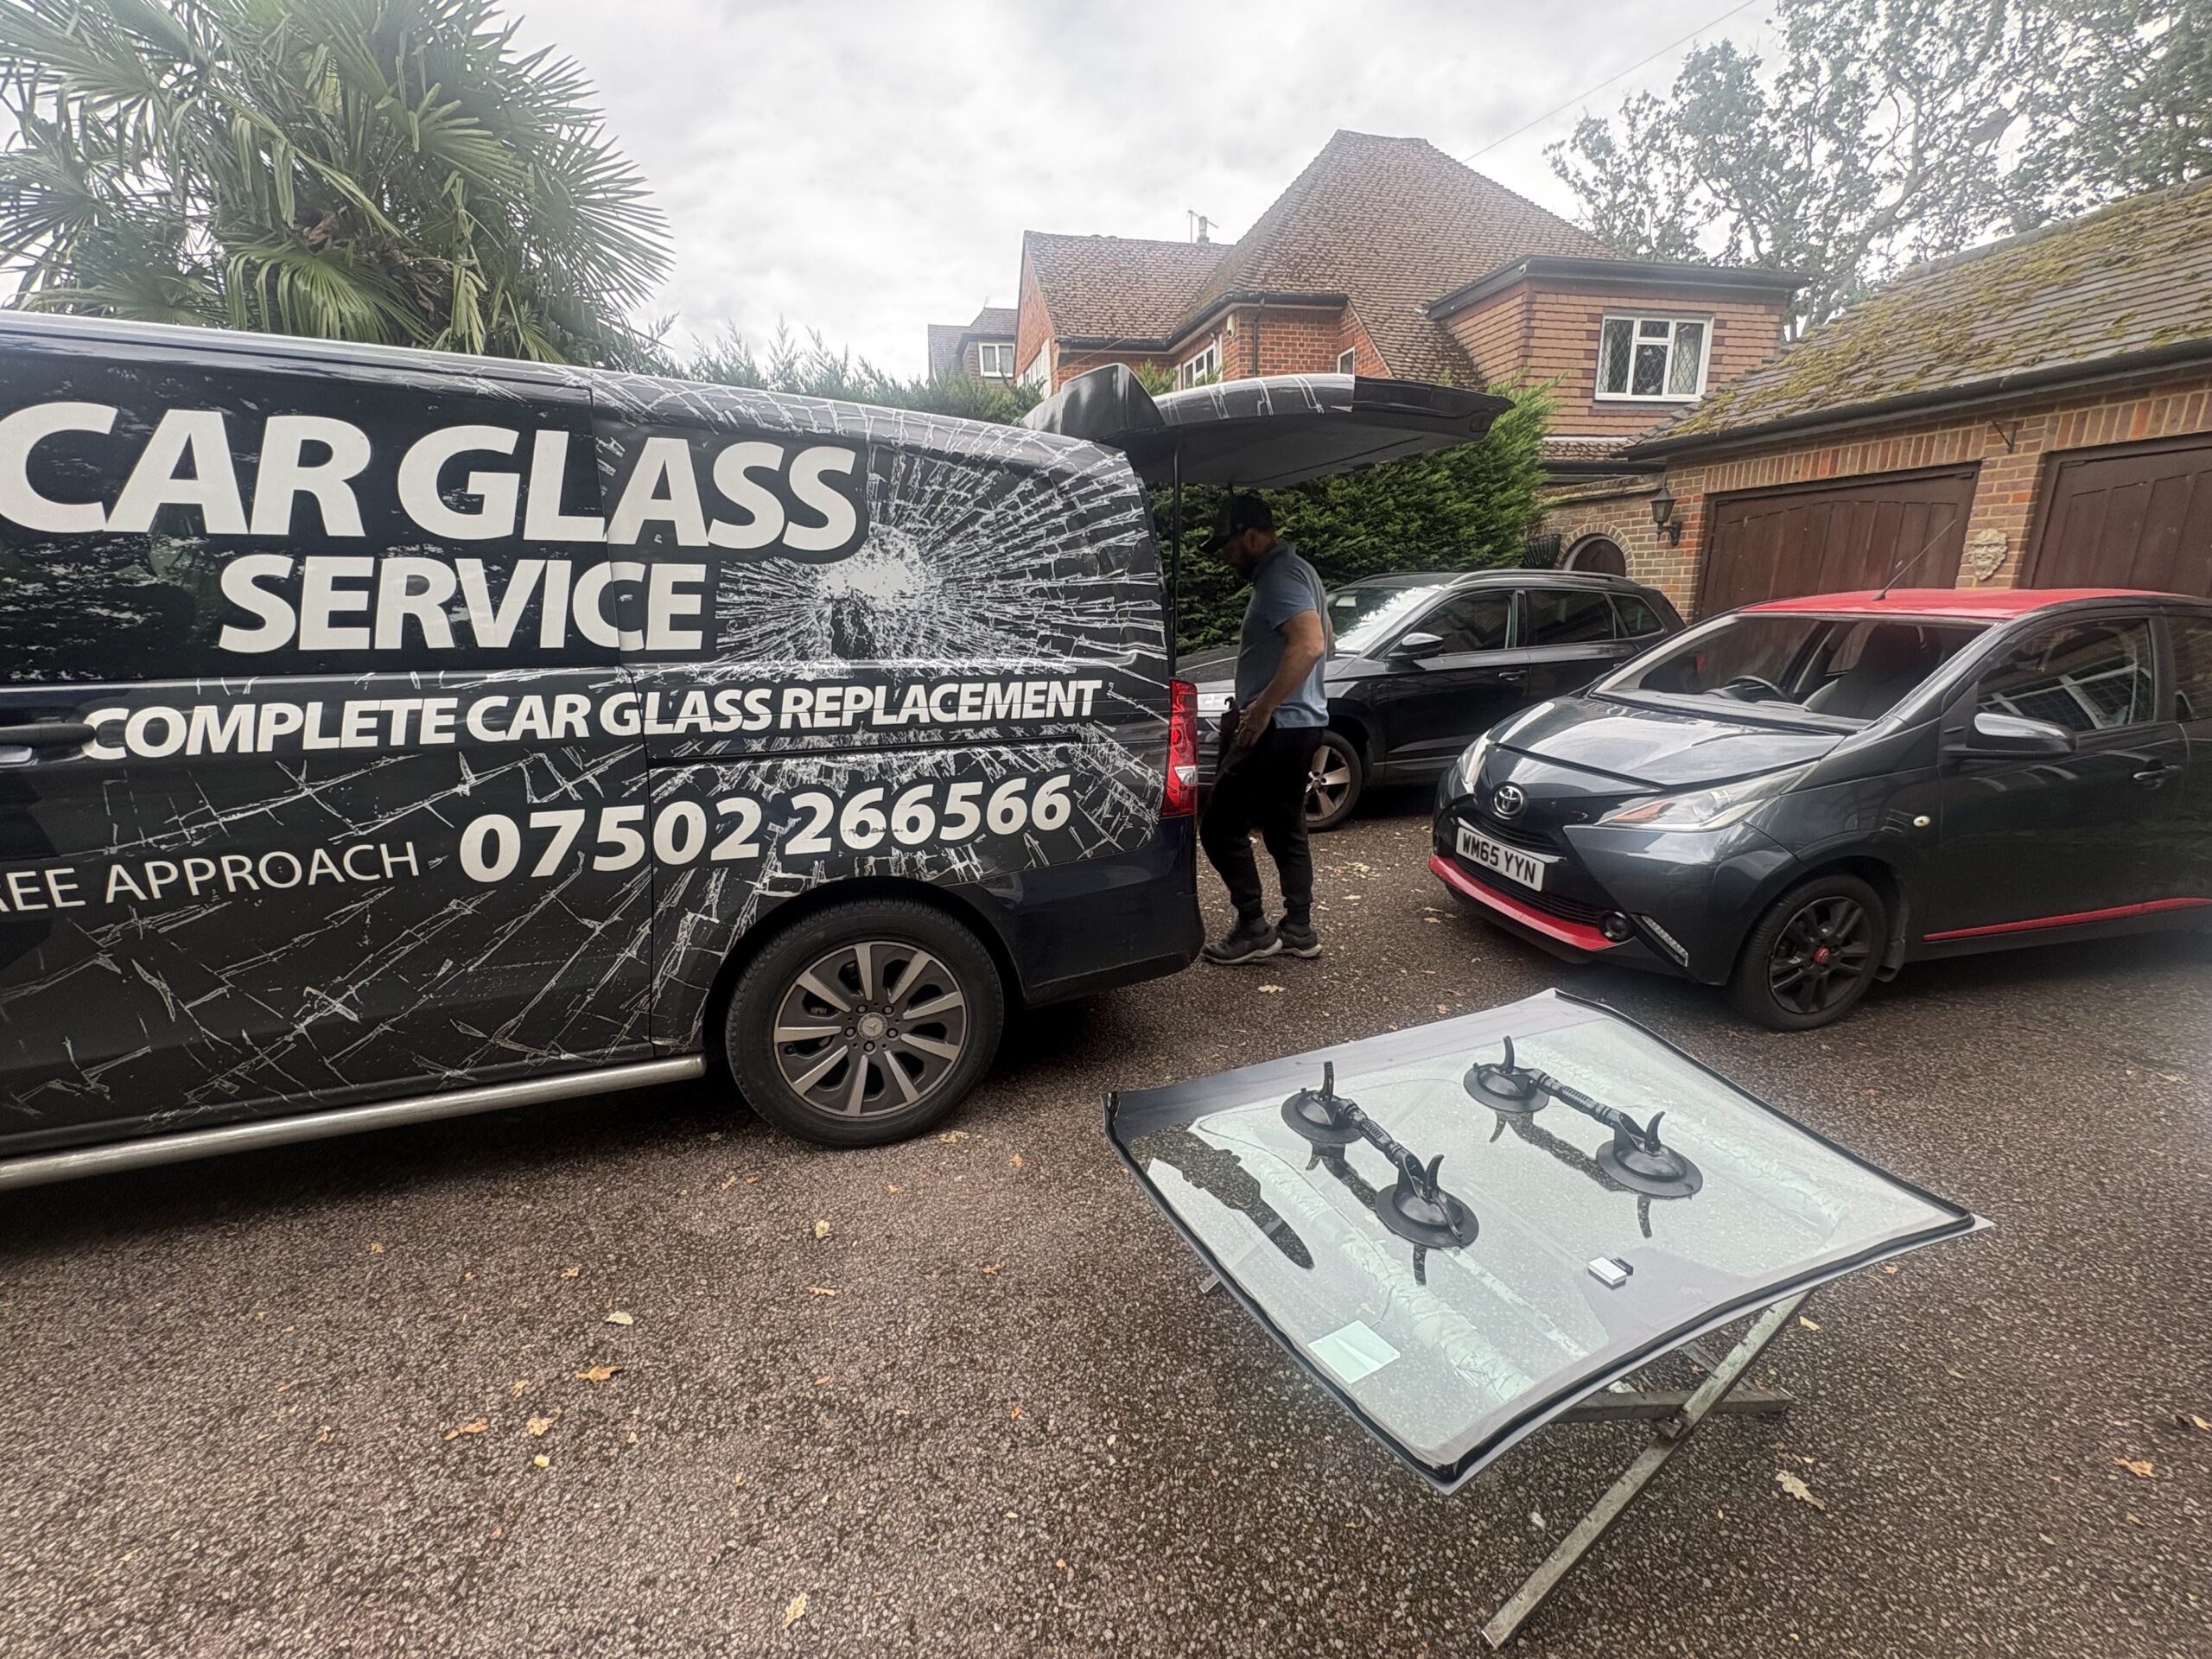
Windscreen Replacement Process Guide for Drivers
A damaged windscreen can turn a normal working day into a problem fast. Whether you are parked at home, outside a customer’s property or managing a van on site, this windscreen replacement process guide explains what happens next, what affects the timing, and why proper fitting matters for your safety.
A windscreen is not simply a sheet of glass. On many vehicles, it supports the roof structure, helps airbags work as designed and carries cameras or sensors used by driver-assistance systems. That is why a rushed or poorly prepared installation can create bigger issues later. A professional replacement is a practical job, but it needs the right glass, adhesive, preparation and checks.
When replacement is the sensible option
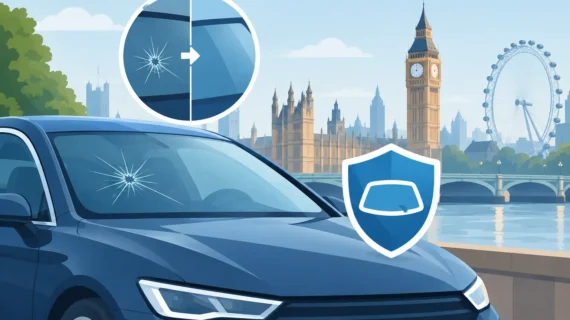
The first step is an inspection. A technician will look at the location, size and type of damage, as well as the make and model of the vehicle. Damage directly in the driver’s line of sight, close to the edge of the glass, or affecting the inner layer of a laminated windscreen often means replacement is the safer route.
There is no single answer for every mark on glass. A small chip may be suitable for repair if it is dealt with promptly and is in the right place. A long crack, spreading damage or broken glass after an impact normally calls for a new windscreen. Delaying the decision can allow damage to worsen through vibration, temperature changes and everyday road use.
For vans and commercial vehicles, the decision also comes down to downtime. A vehicle that cannot be used safely is a missed job, delayed delivery or disruption for the whole team. Getting an accurate assessment early helps you plan around the work rather than being caught out later.
The windscreen replacement process guide, step by step
1. Vehicle details and glass matching
Before fitting starts, the correct glass must be identified. Modern windscreens are not all the same, even within the same vehicle range. The technician may need the registration number, vehicle identification number, make, model and year to match the right specification.
The replacement may need to include features such as a rain sensor bracket, heated elements, acoustic glass, a sun strip, heads-up display compatibility or a camera mounting point. Using glass that does not match the vehicle’s original specification can cause problems with trim, sensors or visibility. OEM-standard glass and compatible materials are worth asking about, particularly on newer cars, luxury SUVs and working vans.
2. Protecting the vehicle and removing the old glass
A proper job begins with protecting the paintwork, dashboard and interior. The wipers, external trims, cowl panels and any necessary mouldings are removed carefully to access the windscreen aperture.
The existing glass is then cut away using specialist tools. This stage needs care. The aim is to remove the windscreen without damaging the bodywork or disturbing surrounding components. If a side window has been smashed, the technician should also clear loose glass from the seats, door cards, seals and footwells as far as reasonably possible.
On some older vehicles, trims and clips can be brittle or already worn. A good technician will explain this upfront if there is a risk that additional parts are needed. Being honest about those possibilities is better than hiding a problem until the end of the job.
3. Preparing the aperture properly
Once the old windscreen is out, the frame is inspected. Remaining adhesive is trimmed back to create the right surface for the new bond. The aperture is cleaned and checked for corrosion, scratches or damage that could affect the seal.
Small areas of exposed metal may need primer before the new adhesive is applied. Serious corrosion requires more than fitting glass over the top. It may need bodywork attention first, because the windscreen can only bond correctly to a sound surface.
This preparation is one of the main differences between a sound replacement and one that later leaks, whistles at speed or loses its bond. It is not the dramatic part of the job, but it is where workmanship shows.
4. Applying the adhesive and fitting the new windscreen
A high-quality automotive adhesive is applied in a continuous, even bead around the prepared aperture. The new glass is then positioned accurately using handling equipment and set into place without disturbing the adhesive line.
Correct positioning matters for more than appearance. The windscreen must sit evenly against the body, meet the trims properly and provide the right clearance around the edges. The technician will refit the removed components, check the surrounding seals and make sure the wipers and scuttle panels are secure.
The fitting itself may not take all day, but the adhesive needs time to cure. Safe drive-away time depends on the adhesive used, the weather, the vehicle and the fitting conditions. Cold or wet conditions can affect curing, so your technician should give you clear advice on when the vehicle can be driven safely.
5. Camera and sensor calibration where required
Many newer vehicles have an Advanced Driver Assistance System, often shortened to ADAS. A forward-facing camera behind the windscreen may support features such as lane departure warning, lane keeping assistance, automatic emergency braking or traffic-sign recognition.
If your vehicle has this equipment, calibration may be required after replacement. This is not an optional extra where the manufacturer specifies it. The camera needs to read the road accurately, and even a small change in glass position can affect its reference point.
Calibration can be static, using targets and diagnostic equipment, or dynamic, carried out through a controlled road drive with suitable equipment. It depends on the vehicle. Always ask whether calibration applies to your car or van and whether it will be completed as part of the booking. A warning light staying off is not, by itself, proof that the camera is correctly calibrated.
How long does a mobile replacement take?
For many standard vehicles, the on-site fitting work can be completed in around one to two hours. The overall time you need to allow also includes safe drive-away time and, where necessary, camera calibration. Vehicles with complex trims, rare glass, corrosion around the frame or advanced driver-assistance equipment can take longer.
Mobile fitting is particularly useful when the vehicle is not safe or practical to drive. A trained technician can attend your home, workplace or another suitable location, provided there is enough space to work safely and the weather conditions allow for a quality installation. A covered area is helpful during heavy rain or strong winds, although every job is assessed on site.
For fleet managers and tradespeople, booking around the vehicle’s working hours can make a real difference. Give the technician the vehicle details and explain where it will be parked, so the correct glass and equipment arrive with them.
What to do before the technician arrives
You do not need to prepare the vehicle like a workshop, but a few simple steps help the appointment run smoothly. Remove valuables from the dashboard and front seats, clear access around the vehicle, and tell the technician about parking restrictions, security gates or low-height access.
If the windscreen is badly broken, avoid touching loose glass. Keep passengers away from the area and do not slam doors, as pressure changes can dislodge more fragments. If rain is expected and the glass is compromised, temporary covering may help protect the interior, but do not tape directly onto painted surfaces for long periods.
Have your vehicle registration and insurance details available if you intend to make a claim. Some policies cover glass work with an excess, while others have different limits or require approval. It depends on the policy, so check before authorising work if insurance is part of your plan.
Checks after fitting
Before the technician leaves, ask about the safe drive-away time and any care instructions. You may be advised to avoid high-pressure car washes for a short period, leave a window slightly open when shutting doors, and avoid removing any retention tape until the stated time has passed.
Look over the windscreen from inside and outside. The glass should sit neatly, trims should be secure, and there should be no obvious debris left in the vehicle. Test the wipers and any rain sensor after the recommended curing period. If your vehicle required ADAS calibration, make sure you understand how that was completed and keep the paperwork with your service records.
A windscreen replacement should leave you with a safe, clean vehicle and clear instructions, not unanswered questions. For drivers and businesses across West London, Car Glass Service can assess the damage, match the correct glass and arrange professional on-site fitting. Call for a straightforward quote, explain your vehicle and location, and get the job moving before a small disruption becomes lost time on the road.