How to Plan Your Campervan Conversion Properly
A window cut in the wrong place, a bed that blocks the sliding door or an electrical system that cannot run your fridge can turn an exciting van project into expensive rework. If you are asking how to plan campervan conversion work, start with the way you will actually use the van, not with a shopping list of accessories.
A good conversion is not always the one with the most equipment. It is the one that gives you a safe, practical space for weekends away, longer holidays or working on the road, while staying within your budget and your van’s weight limits.
Start with the van and your real travel plans
Before choosing units, windows or solar panels, decide what the campervan needs to do. A couple using a medium wheelbase Ford Transit Custom for occasional trips has different needs from a family converting a Mercedes Sprinter, Fiat Ducato, Peugeot Boxer or Citroen Relay for extended touring.
Think through a normal day in the van. How many people will sleep inside? Will you cook indoors when it rains? Do you need secure room for bikes, tools, surfboards or work equipment? Will you mostly use campsites with hook-up, or park away from mains power? Honest answers prevent a common mistake: trying to fit every feature into a space that cannot carry it comfortably.
Check the van’s payload before making firm decisions. The payload is the weight available after the vehicle itself, fuel and standard equipment are accounted for. Insulation, timber, furniture, water tanks, batteries, glass, passengers and luggage all add up. A conversion that looks excellent but exceeds its legal weight limit is not fit for purpose.
Also inspect the van carefully before spending money on the interior. Look for rust, water ingress, worn door seals, damaged floor sections and mechanical issues. Sort the base vehicle first. It is far easier to deal with bodywork and maintenance before lining, cabinetry and flooring go in.
Measure the layout before buying anything
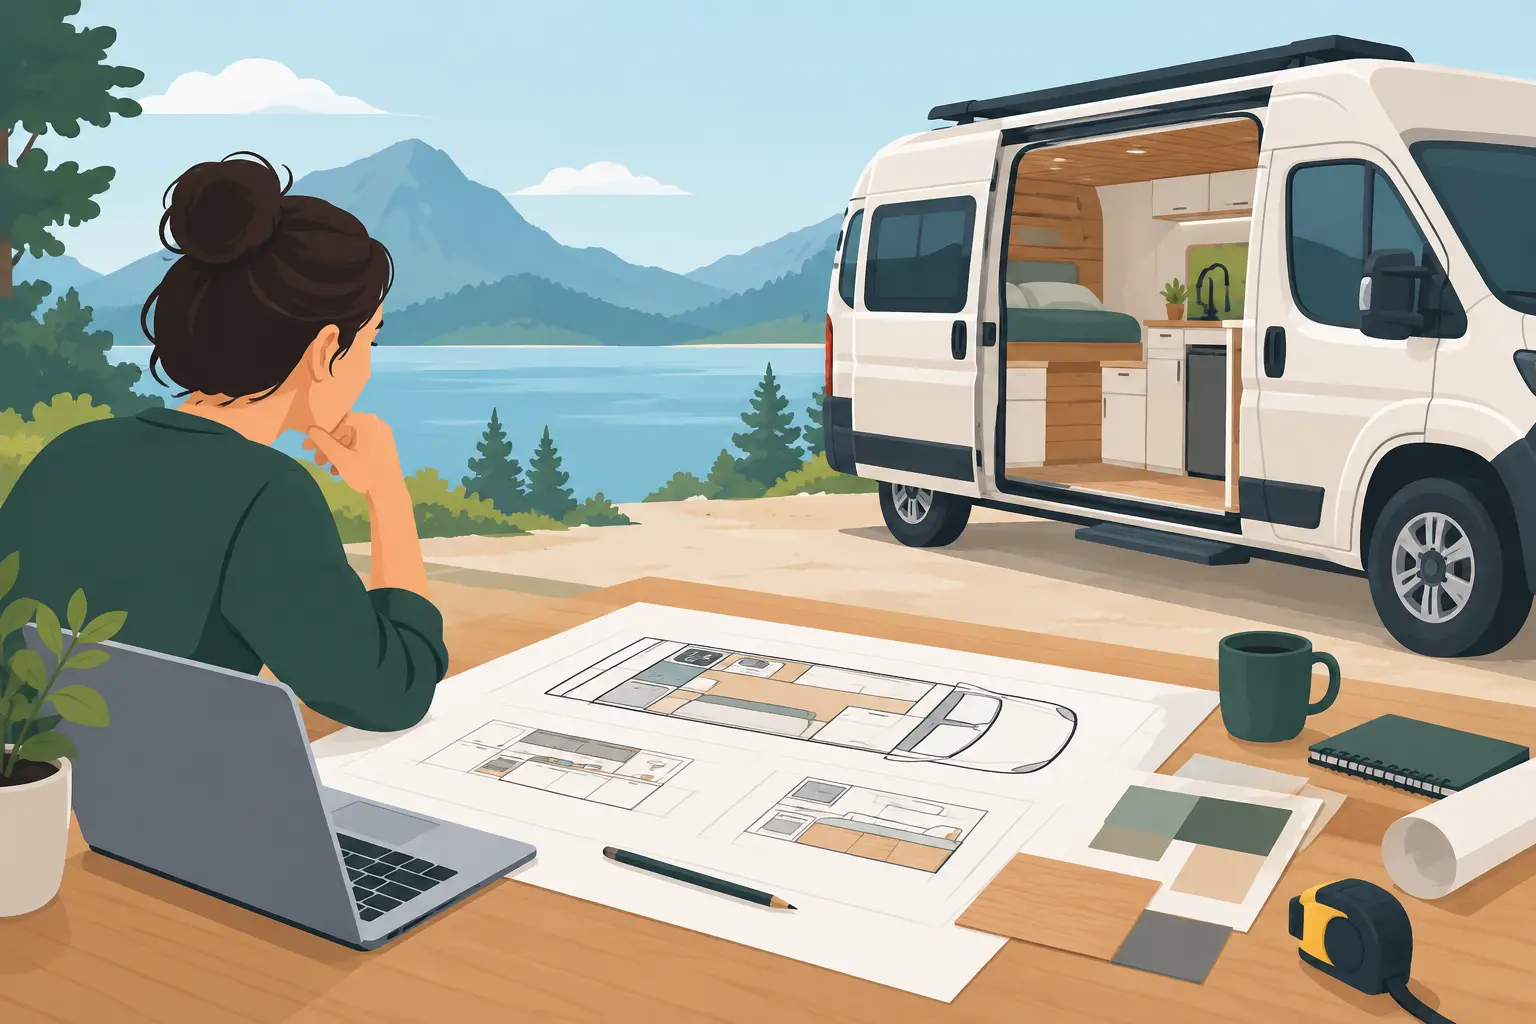
Use accurate internal measurements, including wheel arches, door openings, roof ribs and the curve of the side panels. Draw the layout to scale or mark it out inside the empty van with masking tape and cardboard. Sit, stand and move around the mock-up. This simple step quickly shows whether a proposed bed, kitchen and storage plan will work in real life.
The main layout choice is usually fixed bed versus flexible living space. A fixed bed is convenient and gives useful garage storage underneath, but it takes up a lot of length. A rock and roll bed or convertible seating creates more daytime room, though you will need to make it up each evening. Neither option is automatically better. It depends on your trips and how much you value quick set-up.
Keep the essentials in sensible positions. The cooking area needs ventilation and safe clearance from soft furnishings. Heavy items such as batteries and water tanks should sit low down and be firmly secured. Leave clear access to fuse boxes, water connections, gas shut-off valves and any equipment that may need servicing later.
Plan windows, ventilation and daylight early
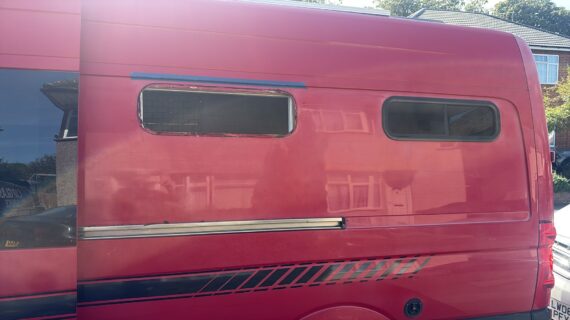
Windows should be part of the first design, not an afterthought once the walls are lined. Their position affects privacy, furniture placement, insulation, lighting and the view from the bed. Fixed side windows can bring in plenty of light, while opening windows improve airflow. The right combination depends on the van layout and how often you expect to cook or sleep in warmer weather.
Avoid cutting a panel simply because it looks symmetrical from outside. Internal strengthening ribs, cupboard positions and bed height matter just as much. A window may be well placed externally but leave you unable to fit a wall unit or blind inside.
Roof ventilation is equally important. A skylight or roof vent helps release heat, moisture and cooking smells. It can make a small van feel far less enclosed. Choose a quality unit and have the roof opening measured and sealed correctly, as a poor installation can lead to leaks and damage the interior over time.
For side windows, rear windows, opening windows and skylights, professional fitting is worth considering. The glass, cut-out, bonding and finish all need to be right for weather protection, safe operation and a tidy result. Car Glass Service provides campervan conversion glass fitting across West London for a wide range of vans, including Sprinters, Transits, Crafters, Relays, Boxers and Ducatos.
Build the electrical plan around demand
Electrical problems often come from choosing a battery or solar panel before calculating what needs powering. List every item you expect to use: lights, fridge, water pump, USB charging, diesel heater controls, laptop charging, fan and any inverter-powered appliances. Add up likely daily use rather than relying on a rough guess.
A basic electrical set-up may be enough for campsite weekends. If you want to spend several days off-grid, you may need a larger leisure battery, split-charge system, mains hook-up, solar panel and a properly designed distribution system. Solar is useful, but its output changes with weather, season, shade and panel size. It should support a sensible system, not be treated as unlimited power.
Use correctly rated cable, fuses and isolators, and keep wiring accessible where possible. If you are not confident with 12V or 230V installations, use a qualified professional. Mains electricity, battery storage and poorly secured wiring are not areas for shortcuts.
Decide on water, heating and cooking together
Water, heating and cooking affect one another because they all require space, ventilation and safe installation. A simple jerry-can system suits some owners and is easy to remove for cleaning. Fixed fresh and waste-water tanks are more convenient for longer trips but add weight and require careful plumbing.
For cooking, decide whether you need a permanent hob, portable unit or no indoor cooking at all. A permanent gas system must be installed and tested properly, with suitable ventilation and safe cylinder storage. Diesel heating is popular for shoulder-season travel, but it also needs correct fitting and servicing. Make these decisions before cabinet construction, not after it.
Set a budget with a contingency
A realistic budget should cover the van, mechanical preparation, insulation, windows, ventilation, electrical equipment, heating, plumbing, furniture, upholstery, flooring, labour and registration or insurance changes where relevant. Do not forget the smaller costs: sealants, fixings, trim, cable, hinges, blinds, paint and tools can become a sizeable total.
Keep a contingency fund for surprises. Older vans may need unexpected mechanical work, and even a newer van may reveal hidden damage when trim is removed. Spending more on the structural and safety-critical parts usually makes sense. You can upgrade cushions, decorative panels and accessories later.
It is also wise to check insurance requirements before starting work. Some insurers want to know about windows, cooking equipment, seating changes or electrical alterations. If you hope to have the vehicle recognised as a motor caravan, check the latest official requirements rather than assuming a bed and a kettle are enough.
Follow the right conversion order
The order of work matters because later jobs can damage finished surfaces or force you to remove work you have already paid for. A practical sequence is:
- inspect and prepare the van, including mechanical work and rust treatment;
- fit windows, roof vents and other exterior cut-outs;
- run cables, plumbing and any heater ducting;
- insulate, line and finish the floor, walls and ceiling;
- install furniture, appliances, electrics and final trim.
This order is not rigid. For example, some installers prefer to confirm furniture dimensions before finalising window locations. The key is to make those decisions on paper first, then coordinate the work so each stage supports the next.
Do not ignore safety and everyday access
Every seat, battery, water tank, gas cylinder and storage box must be securely mounted. Emergency access matters too. Make sure doors can open fully, escape routes are not blocked and the first-aid kit, fire extinguisher and electrical isolators are easy to reach.
Think about daily cleaning as well. Can you sweep under the bed? Can wet coats be stored without soaking the mattress? Can you reach the spare wheel, tyre tools or essential vehicle fluids? These details are easy to miss during a build but make a big difference once the van is in use.
Plan carefully, allow for the jobs that need specialist fitting, and leave room for changes after your first few trips. The best campervan conversions are built for real use, not just for a photo on handover day.