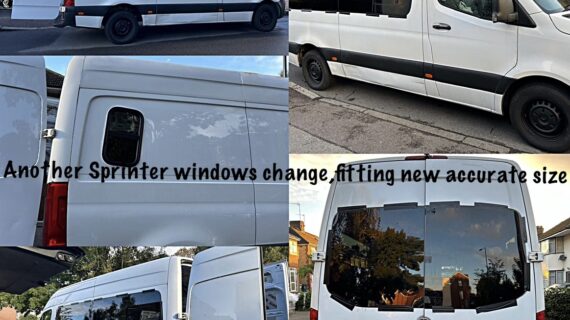
Practical Guide to Van Side Window Replacement
A smashed van side window is more than an inconvenience. It can leave tools, stock or personal belongings exposed, scatter glass through the cab, and take a working vehicle off the road. This guide to van side window replacement explains what to do first, how professional fitting works, and how to choose the right replacement glass for your van.
Start by making the van safe
If the window has been broken during a theft or break-in, move the van to a secure place if it is safe to do so. Avoid touching loose glass with bare hands. Even when a window appears to have fallen cleanly into the door or cargo area, small fragments can remain in the window channels, seats, door pockets and rubber seals.
Clear valuable items from view, then cover the opening temporarily if rain is expected. A clean plastic sheet secured from inside the vehicle can help for a short period, but it is not a proper security fix and should not be used while driving at speed. Do not tape directly onto painted panels for longer than necessary, as adhesive can mark the finish.
Take photographs of the damage before clean-up if you need them for an insurance claim or incident report. If a vehicle is part of a fleet, notify the manager promptly so the correct glass and any required authorisation can be arranged.
Which van side window needs replacing?
Not every piece of side glass is fitted in the same way. Identifying the exact window helps a glazing specialist bring the correct part and complete the job without delay. The main differences are the position, the vehicle body style and whether the window is fixed, sliding or opening.
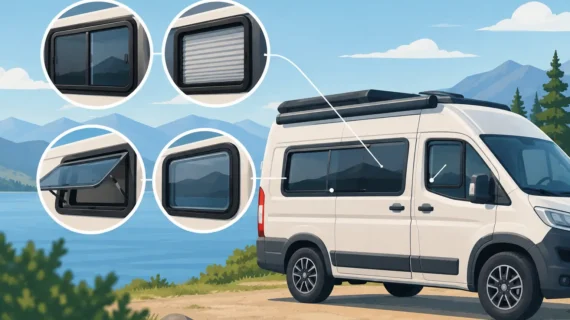
A front door window normally travels up and down inside the door. Rear door glass may be fixed in place, while a side loading-door window can be a fixed pane or a factory sliding unit. Some panel vans have bonded side glass fitted as part of a conversion, and campervans may have aftermarket opening windows with integrated blinds or flyscreens.
The vehicle registration, make, model, year and body length are useful starting points. A photograph of the damaged area is often just as helpful, especially on vans with conversion windows, tinted privacy glass or non-standard panels. Glass markings can also show the manufacturer code and approval information.
Tempered and laminated side glass
Most older and standard van side windows are toughened, or tempered, glass. When damaged, this glass breaks into many small pieces rather than sharp shards. It still needs thorough removal, particularly from the door mechanism and weather seals.
Some newer vehicles use laminated side glass, which has two glass layers bonded around an inner film. It may crack but remain largely held together. This can improve security and reduce noise, but the replacement must match the original specification. The wrong glass can affect fit, appearance and the way the door operates.
How professional van side window replacement works
A proper replacement is not simply a case of removing broken pieces and fitting a new pane. The process differs slightly by window type, but the standards should remain the same: correct glass, clean preparation, secure fitting and a full safety check.
For a drop-down door window, the technician removes the door trim carefully to access the regulator and glass clamps. Broken glass is removed from inside the door, including pieces lodged at the bottom of the frame. The regulator, guides and seals are inspected before the replacement glass is fitted and aligned. The window should run smoothly without catching, rattling or sitting unevenly against the seals.
For bonded fixed glass, the old adhesive is cut away using the right tools. The aperture is cleaned and prepared, with corrosion or damaged paint addressed before fresh automotive bonding materials are applied. The replacement is then positioned accurately and allowed the required curing time. Rushing this stage can lead to wind noise, leaks or a poorly secured pane.
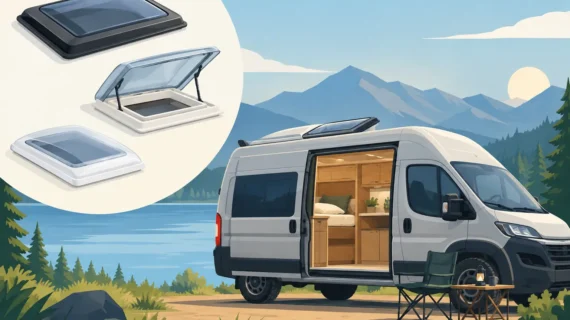
On campervan and conversion windows, the work may involve checking the trim ring, cut edge and interior finish as well as the glass itself. Opening windows must sit squarely, lock properly and seal against rain. If a previous installation has allowed water in, the surrounding panel and interior lining should be inspected before a new window is fitted.
Why the right glass specification matters
Van glass is not one-size-fits-all. A pane that looks similar may have different curvature, fixing points, tint level or heating elements. Choosing OEM-standard glass and materials gives the vehicle the best chance of retaining its original fit, safety and finish.
Privacy glass is common on crew vans and campervan conversions. Its darker appearance can protect items from view and make the rear of the vehicle more comfortable, but it should match the other fitted windows where possible. A noticeably different tint can look poor and may be unsuitable for a customer-facing or branded van.
If the damaged glass includes an antenna, heating connections or another feature, make sure this is mentioned when requesting a quote. It is also worth stating whether the van has been converted, as factory panels and conversion glass are not always interchangeable.
Can you replace a van side window yourself?
A capable owner may be able to replace certain simple sliding panes or conversion window components, but a full side window replacement is usually better left to a trained fitter. The risks are not limited to cutting yourself on glass. Incorrect removal can damage door cards, window regulators, seals, paintwork and interior trim.
Bonded glass needs the correct primers, adhesive, application method and curing conditions. An opening cut-out in a panel van requires accurate measuring and protection of the bare metal edge. A small error can mean water ingress, rust or a window that never sits correctly.
DIY may make sense for replacing a removable blind cassette or a manufacturer-approved window catch. For broken door glass, fixed side glass or a full conversion window, professional fitting is normally the safer and more cost-effective route once potential damage and lost working time are considered.
What affects the replacement price?
The final price depends on the van, the location of the glass and the specification required. A standard toughened front door pane is generally a different job from a bonded privacy window or an aftermarket campervan opening window. Availability also matters, particularly for less common vans, long-wheelbase models and specialist conversion parts.
When comparing quotes, check what is included. A clear quote should account for the replacement glass, fitting materials, removal of broken glass and disposal. If the van window has been damaged in a break-in, ask whether the technician will clear glass from the door cavity and interior as part of the work.
Insurance may cover the claim under vehicle glass or comprehensive cover, depending on the policy. Before authorising work, check the excess and whether using your own local glass specialist is permitted. For many owners, a quick direct quote is still useful, even when an insurer is involved.
Choosing a fitter for a broken van window
Speed matters when your van carries tools or earns its keep, but workmanship matters just as much. Ask whether the fitter can confirm the glass specification from the registration and photos, whether OEM-standard materials are used, and whether the repair includes a check of the seals and window operation.
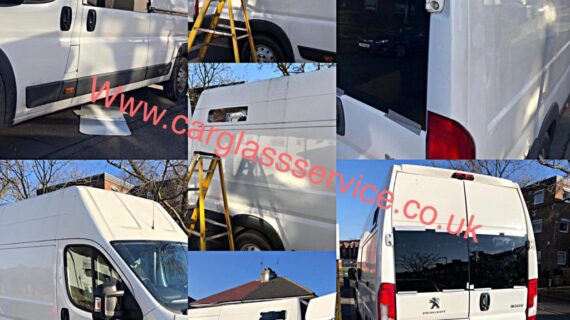
Mobile fitting is particularly useful when the van is parked at home, at a depot or on site. It avoids driving with an insecure opening and reduces downtime for tradespeople and fleet operators. Car Glass Service provides on-site van side window replacement across West London, subject to the correct glass being available, so many urgent jobs can be arranged without a workshop visit.
After the new window has been fitted
Before the technician leaves, check that the glass is clean, the door opens normally and any electric window operates correctly. With bonded glass, follow the advised curing guidance before washing the vehicle or exposing it to heavy use. Avoid slamming doors unnecessarily during the first part of the curing period.
Check the van again after the next spell of rain. If you notice wind noise, water marks, a stiff window mechanism or loose trim, report it promptly. These issues are easier to address early than after repeated use.
A replacement side window should restore more than the appearance of your van. Done properly, it brings back security, weather protection and the confidence to get back to work or continue your journey without worrying about the next downpour.