Van Conversion to Campervan Starts with Glass
A van conversion to campervan can look straightforward on social media: add a bed, fit a cooker, hang some curtains and head off for the weekend. In real life, the order of the build matters. Cut the wrong opening, fit poor-quality glass or leave a window unsealed, and a promising project can quickly become cold, damp and difficult to insure.
For most van owners, windows and rooflights should be planned early. They affect the layout, ventilation, security, wiring routes, insulation and the way the finished camper feels on the road. Getting the glass work professionally measured and fitted gives the rest of the conversion a sound starting point.
Plan the van conversion to campervan around how you travel
Before choosing a side window or rooflight, be honest about how the van will be used. A weekend surf van has different needs from a full-time touring camper. A day van carrying children needs good visibility and secure seating, while a tradesperson converting a working van may want privacy glass and a simple sleeping area without losing all load space.
Start with the basics: how many people will travel, where they will sleep, whether you need a fixed kitchen, and how much natural light you want. Then consider where people will sit during the day. A window beside the bed can make a small van feel much bigger, but it may reduce wall space for cupboards. A rooflight brings in excellent daylight and ventilation, yet it needs careful positioning around roof ribs, solar panels and any pop-top roof mechanism.
A good layout is not about fitting every possible feature into the vehicle. It is about making the space work without compromising safety, weatherproofing or access.
Choose the right windows before cutting the van
The side glass fitted to a campervan does more than improve its appearance. It gives passengers a view out, brings light into the living area and can make a panel van feel less enclosed. The best option depends on the van model, the interior plan and how much privacy you need.
Bonded side windows are a popular choice for modern vans because they sit neatly against the bodywork and give a factory-style finish. Fixed glass suits many layouts where light is the main aim. Sliding opening windows are useful beside a kitchen or sleeping area because they allow airflow without leaving a door open. Some owners choose a combination, such as fixed glass on one side and an opening section where ventilation matters most.
Tinted or privacy glass can be practical, particularly when the van is parked on a street, at work or on a busy campsite. It reduces visibility into the rear while still allowing daylight through. However, very dark tint is not always the answer. If you plan to work, read or spend long periods inside during winter, too little daylight can make the interior feel gloomy.
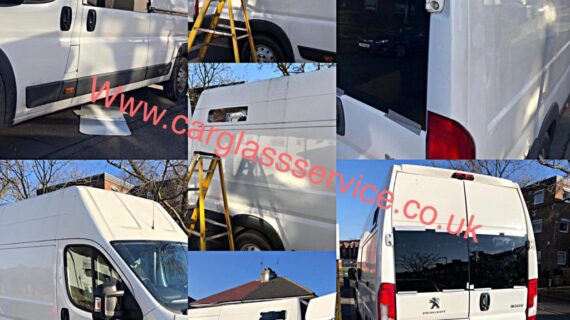
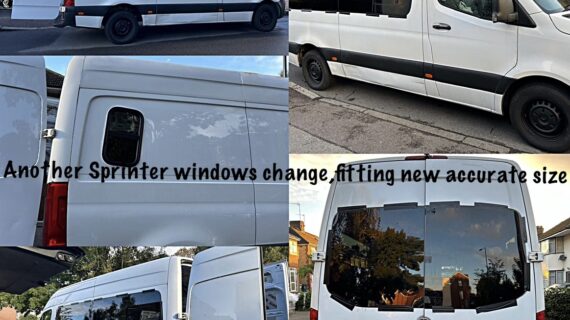
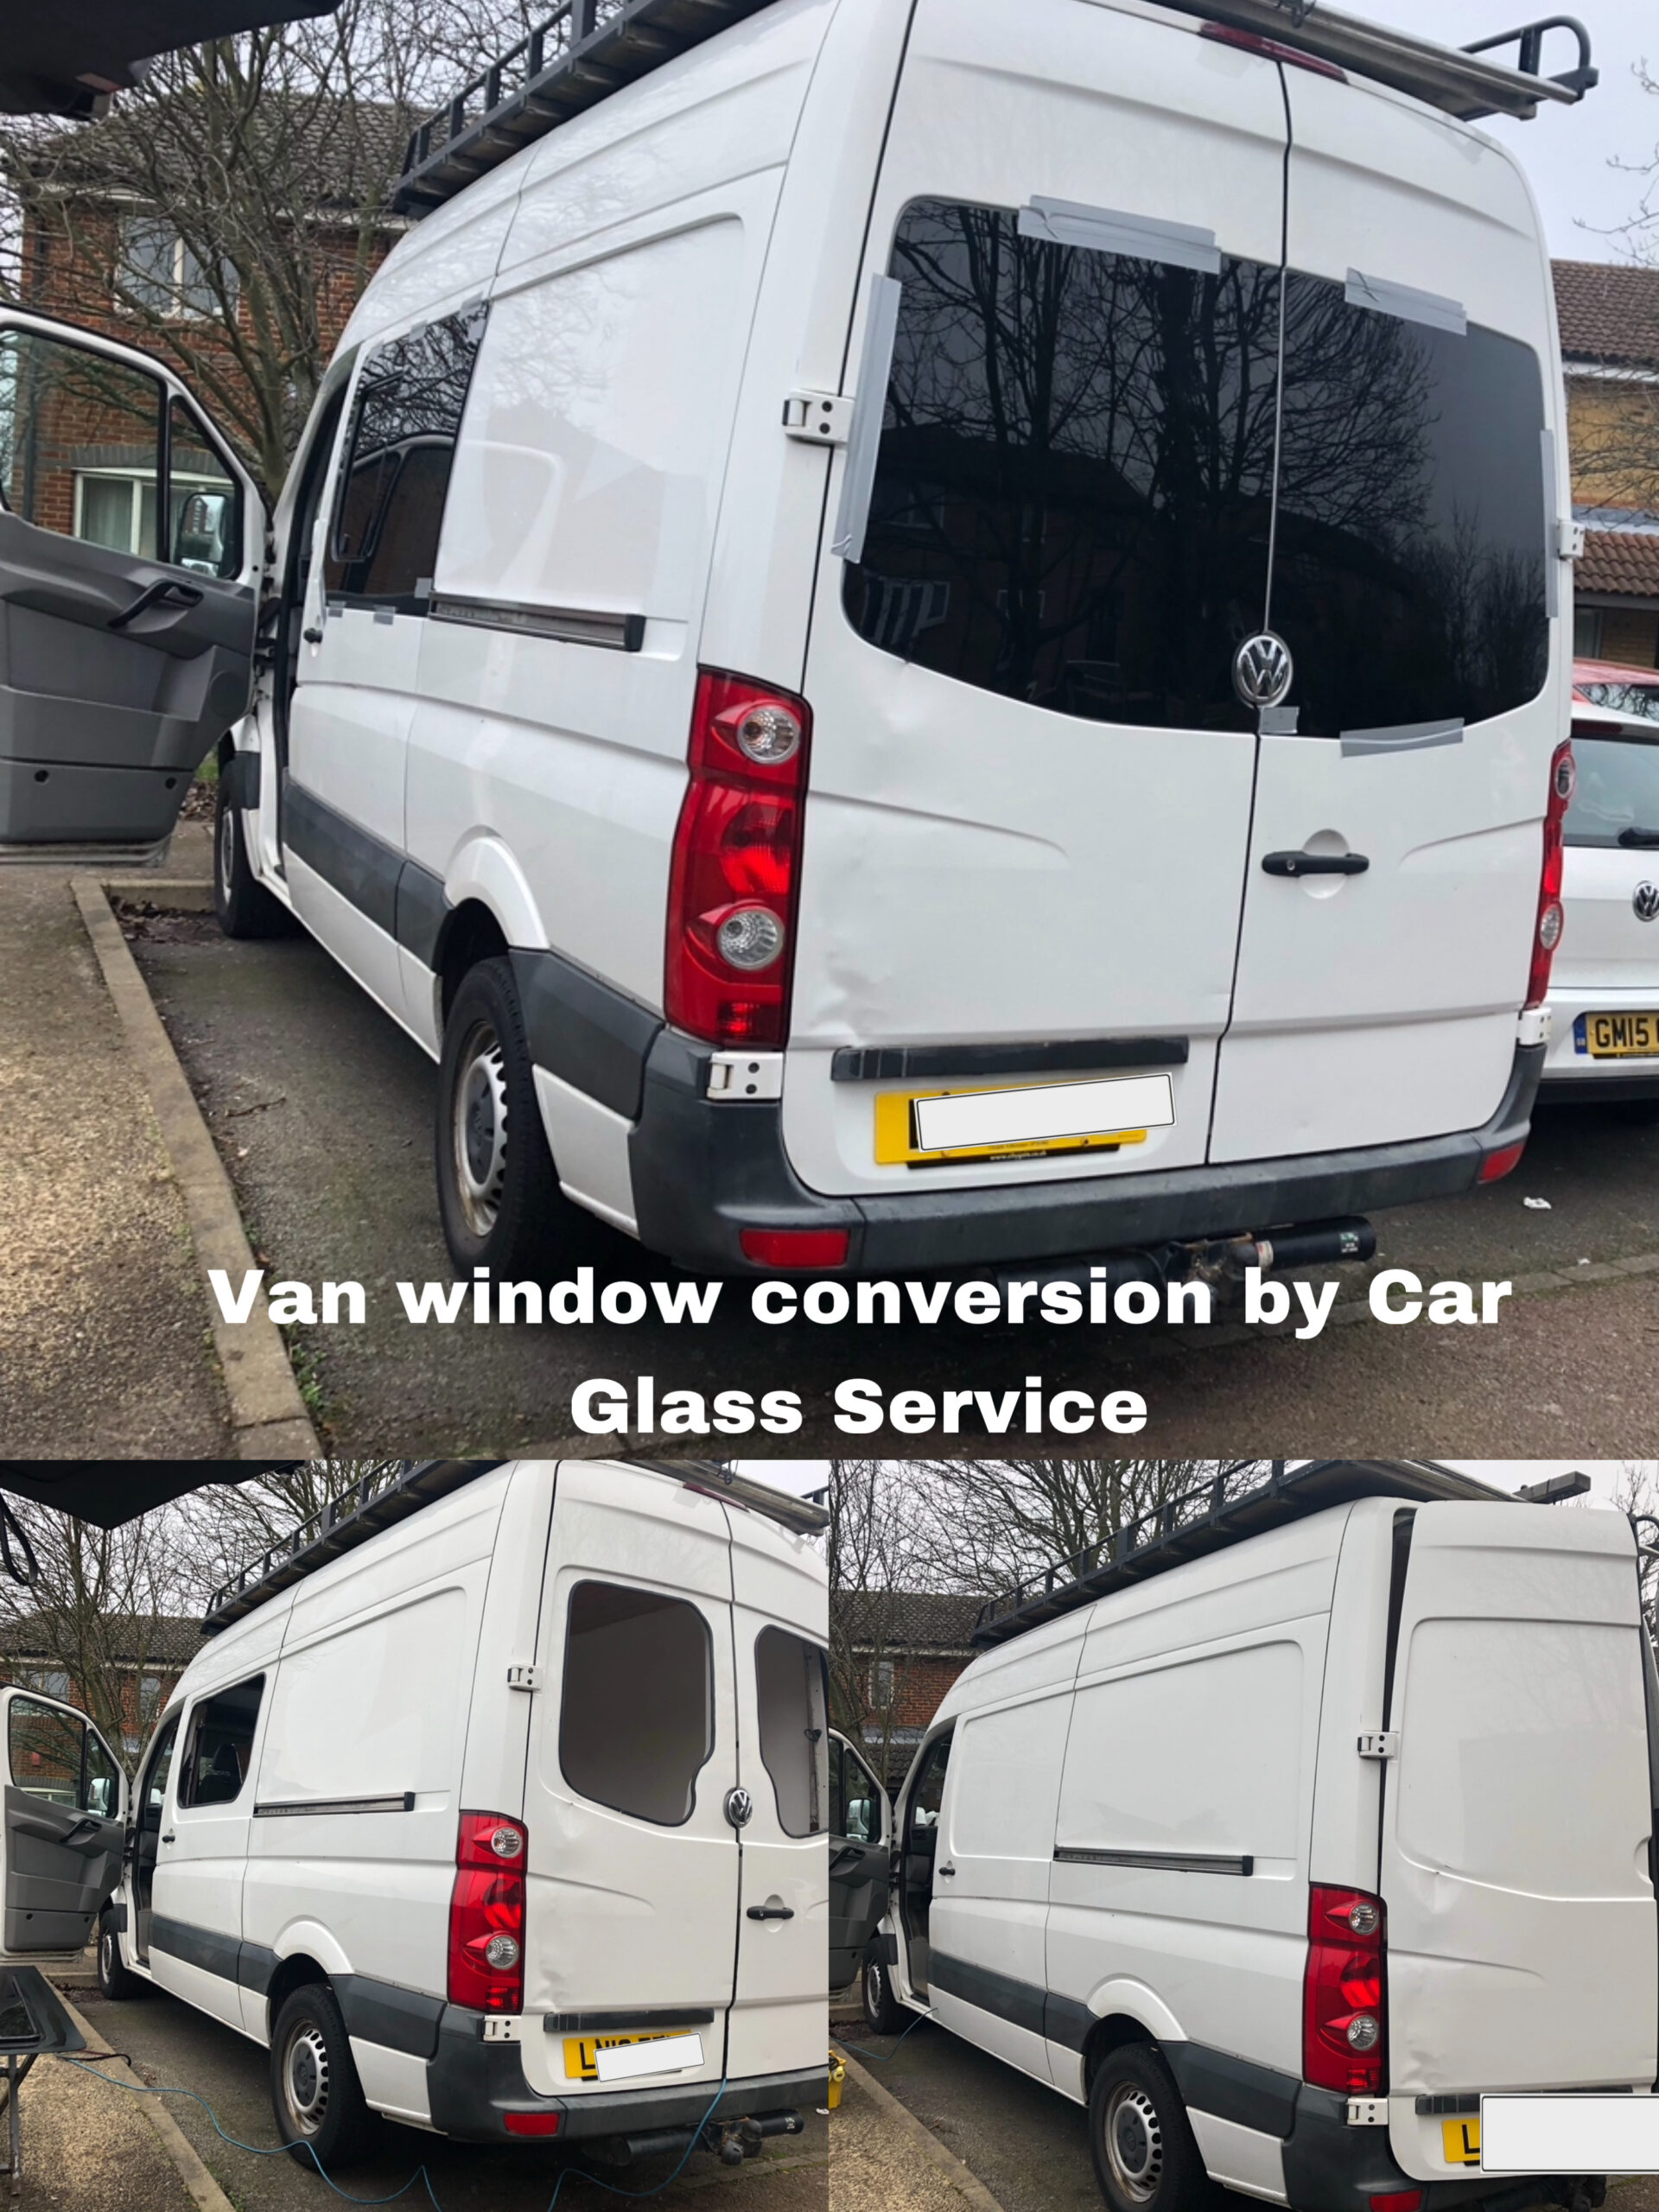
The vehicle must also be assessed properly before any panel is cut. Vans have structural sections, strengthening ribs, cables and internal trim that need consideration. A professional fitting service will measure the opening accurately, prepare the metal edge correctly and use suitable automotive bonding materials. That is what helps prevent leaks, wind noise and loose glass later on.
Do not treat window fitting as a cosmetic job
A badly fitted window can cause problems long after the conversion looks finished. Water may track behind insulation and timber panels before you notice it. Over time, that moisture can create mould, corrosion and damaged electrics. Uneven bonding can also leave the glass under stress or allow movement when the van travels over rough roads.
It is worth fitting the windows before insulation and lining go in. This gives the installer access to the bare metal, makes the work cleaner and avoids having to remove finished panels later. It also lets you check the result from inside before committing to furniture placement.
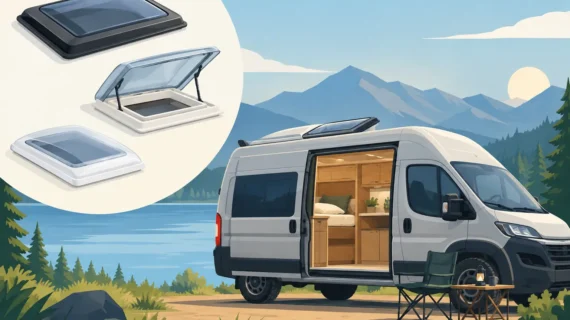
Rooflights bring light, but ventilation is the real benefit
A rooflight can transform the feel of a compact van. It brings daylight into the centre of the interior, where side windows may not reach, and gives you a view of the sky when parked up. More importantly, an opening rooflight helps manage condensation.
Cooking, wet coats, breathing overnight and drying gear all put moisture into a campervan. Without ventilation, that moisture settles on cold surfaces. A rooflight used with a slightly open side window creates airflow that helps clear steam and reduce damp conditions.
There are trade-offs. A large rooflight gives more light but takes up valuable roof space that could be needed for solar panels, an extractor fan or roof storage. It can also affect where overhead lockers sit inside. If the van will be used year-round, choose a properly sealed unit designed for vehicle use rather than adapting a household product.
The roof should be inspected before cutting. Roof ribs, cable routes and the curve of the panel all affect where a rooflight can safely sit. Once the opening is made, the edges need protecting and sealing correctly. This is one part of a camper conversion where rushing to save time can cost far more later.
Build the interior around safe access and maintenance
Once the glass, windows and roof openings are in place, the interior can take shape. Insulation, vapour control, wall lining, flooring and furniture should be fitted in an order that still allows access to essential areas. Think ahead about fuse boxes, leisure batteries, water pumps and hidden joints. If something fails, you should not need to dismantle half the van to reach it.
Weight is another practical concern. Solid timber furniture can look excellent, but it adds up quickly when combined with batteries, water tanks, appliances and passengers. A heavily loaded van handles differently, uses more fuel and may exceed its permitted weight. Check the vehicle’s plated weights and allow for real-world items such as bedding, food, bikes and tools.
Gas, electrics and heating should be treated with the same care as glass fitting. Use suitable components, protect cables from sharp edges and ensure any system that produces heat or uses fuel is installed and ventilated correctly. A tidy finish is valuable, but safe workmanship matters more than hidden cables and polished panels.
Think about security and everyday use
A campervan often carries more valuable equipment than a standard panel van. Side windows can make the interior more visible, so balance light with sensible security. Privacy glass, curtains, blinds and secure storage all help. Do not leave laptops, tools or camera equipment on display, even when stopping briefly.
Also consider how the van works on an ordinary weekday. Can you open the sliding door without hitting a cupboard? Is there enough room to change out of wet clothes? Can you ventilate the van when it is raining? Are the windows easy to clean and operate? These small details have a bigger impact on ownership than an expensive decorative finish.
For London van owners, parking and access also deserve attention. A high rooflight, solar panel frame or roof box can alter the height of the vehicle. Measure the completed height and keep it handy for car parks, barriers and low bridges.
Get the specialist work done at the right stage
The best time to arrange van conversion glass fitting is after the layout is agreed and before the interior is closed in. That gives a clear view of where windows, rooflights and rear glass need to go, while keeping the fitting process clean and efficient.
Car Glass Service provides professional van and campervan glass fitting across West London, including side windows, rear windows, rooflights and conversion upgrades. The focus is straightforward: suitable glass, proper preparation and secure fitting so your conversion has a dependable finish from the start.
A campervan should feel like a place you want to spend time in, not a project that is always one leak or loose fitting away from another repair. Plan carefully, keep safety ahead of shortcuts, and make the glass work one of the first jobs done properly.